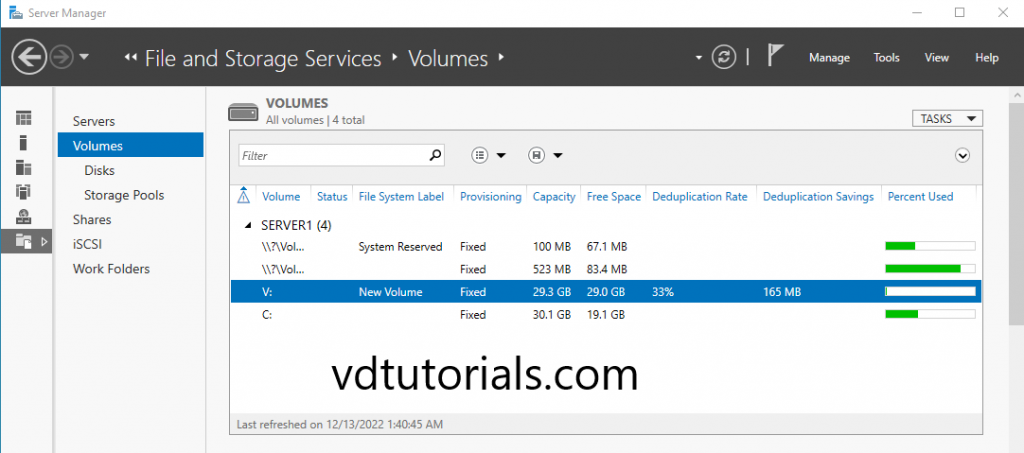
Data Deduplication provides storing a single copy of identical data on the volume, it helps improve storage utilization. this step by step tutorial covers installing and configuring Data Deduplication on Windows Server 2022.
Demo environment
- Computer Name: server1.test.com
- Operating System: Windows Server 2022 Datacenter
- IP Address: 192.168.0.2
Table of Contents
- Install Data Deduplication
- Configure Data Deduplication
Install Data Deduplication
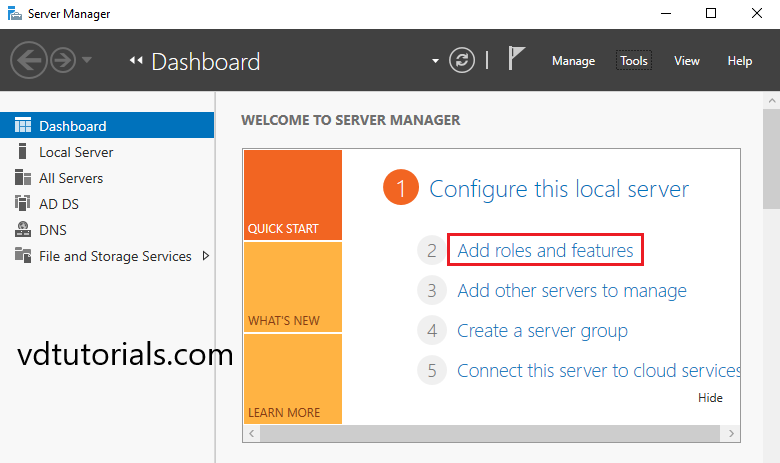
1. Open the Server Manager dashboard and click Add roles and features.
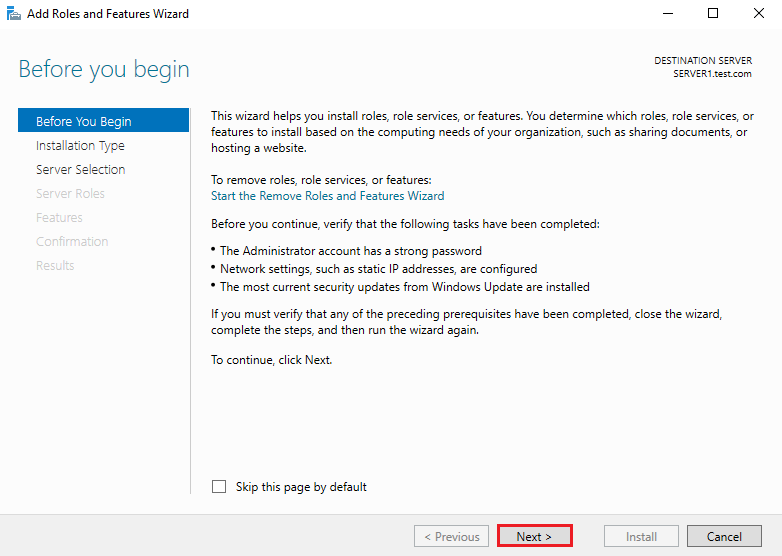
2. Before you begin, click Next.
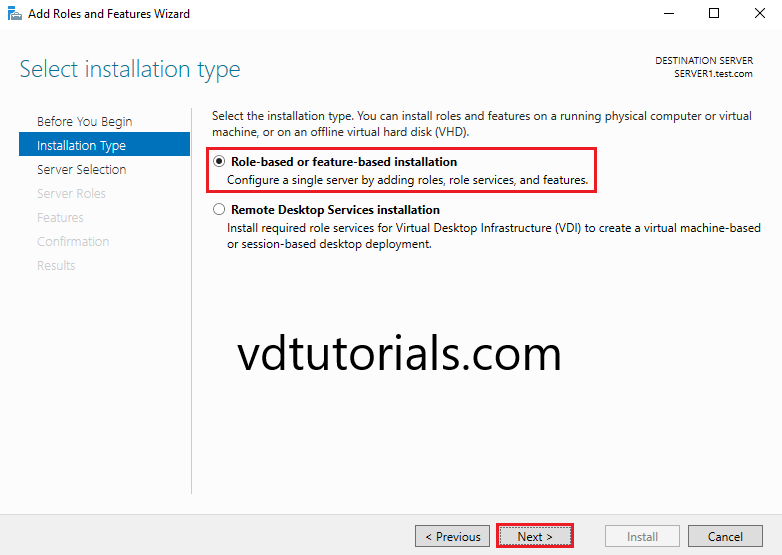
3. In Select installation type, Select Role-based or feature-based installation and click Next.
4. In Select destination server, select a Host to which you’d like to add services and click Next.
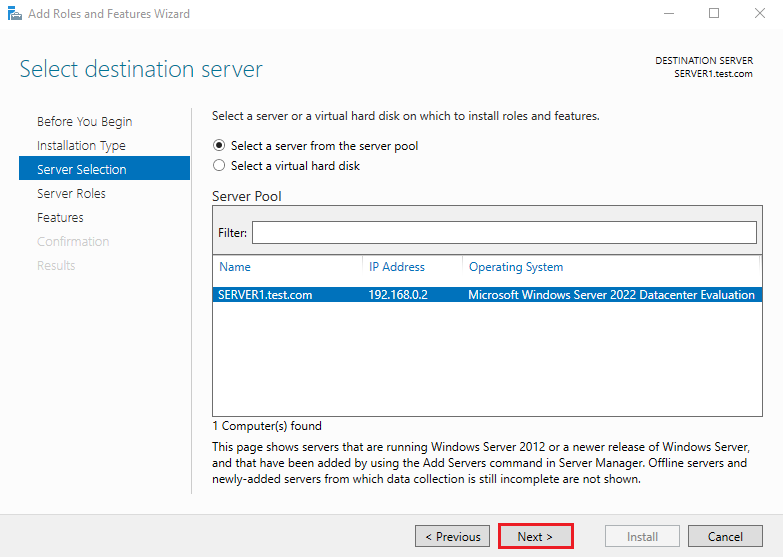
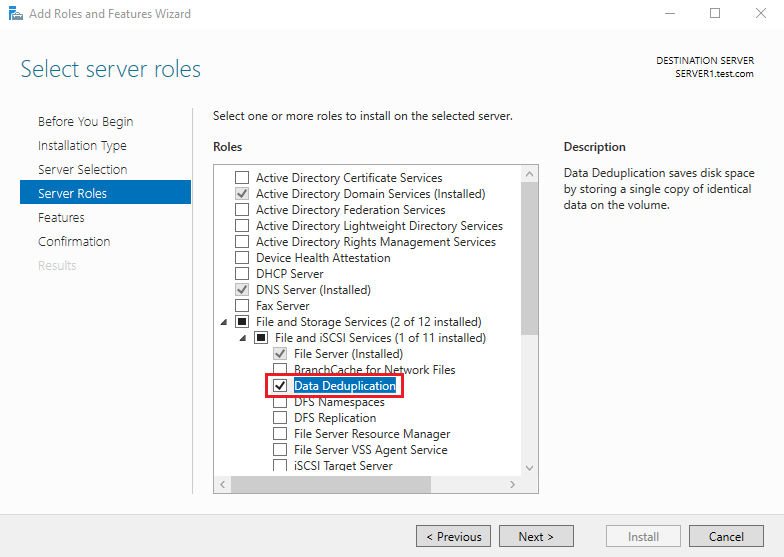
5. Select server roles, Choose the Data Deduplication box from the server roles page.
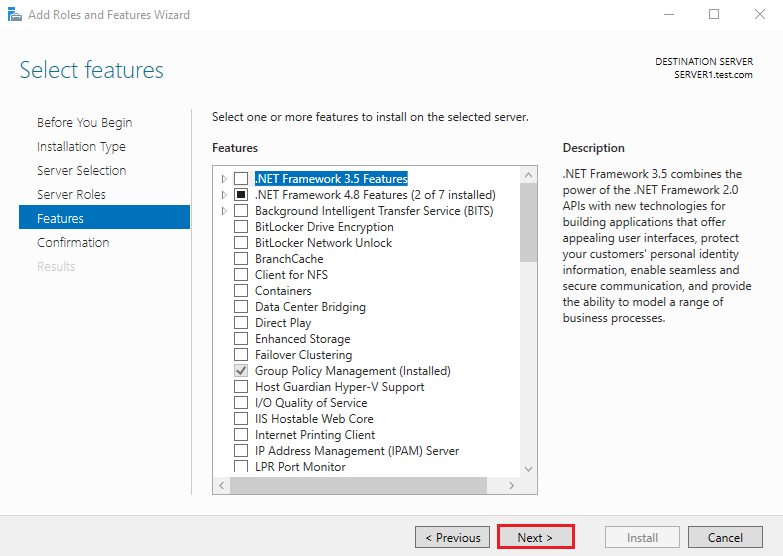
6. On the select features console, just click Next because we do not require any extra features at the moment.
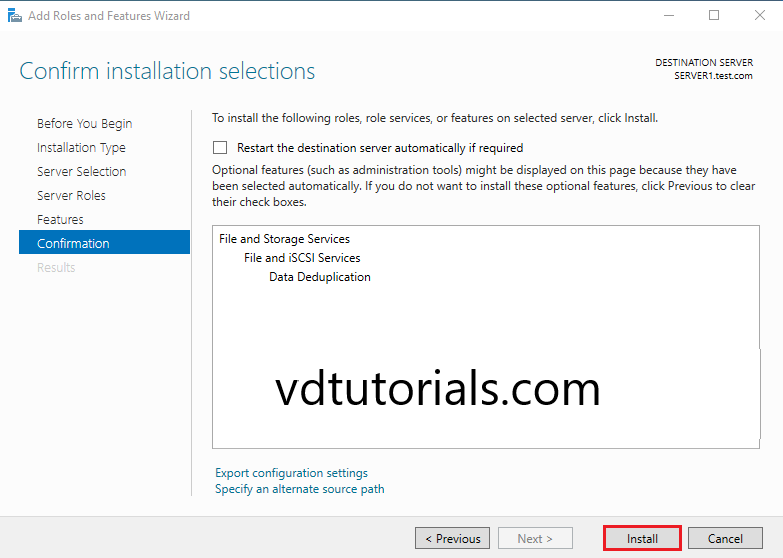
7. Confirm installation selections and click on Install to start the installation process.
8. Click Close.
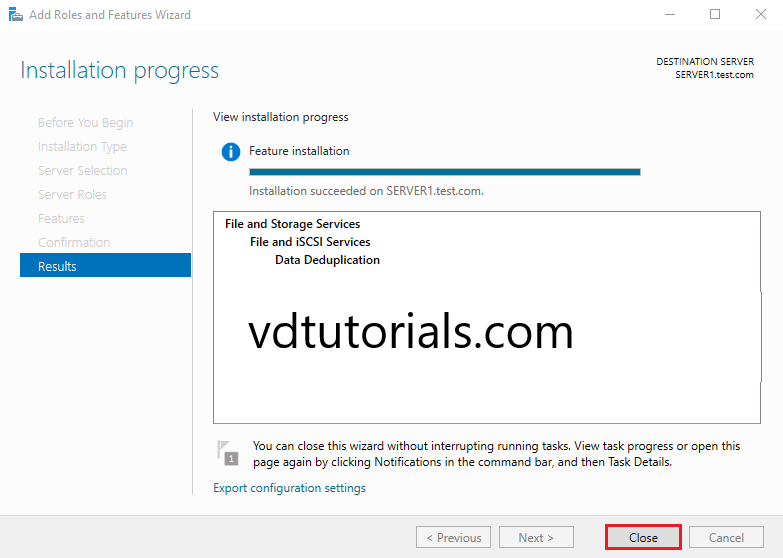
Data Deduplication has been installed.
Configure Data Deduplication
9. Open the Server Manager dashboard and click File and Storage Services.
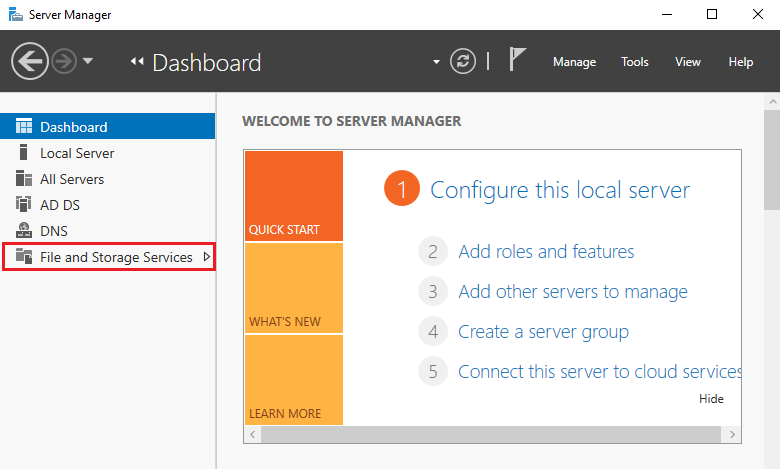
10. Click on Volumes.
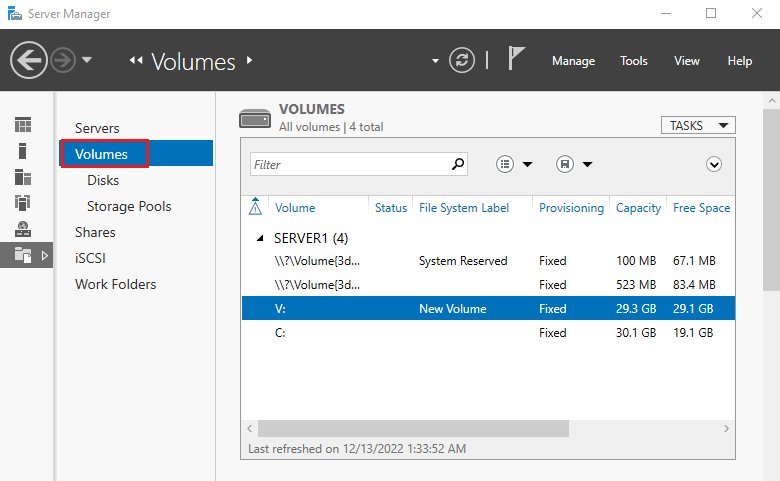
11. Right click on the volume and select Configure Data Deduplication.
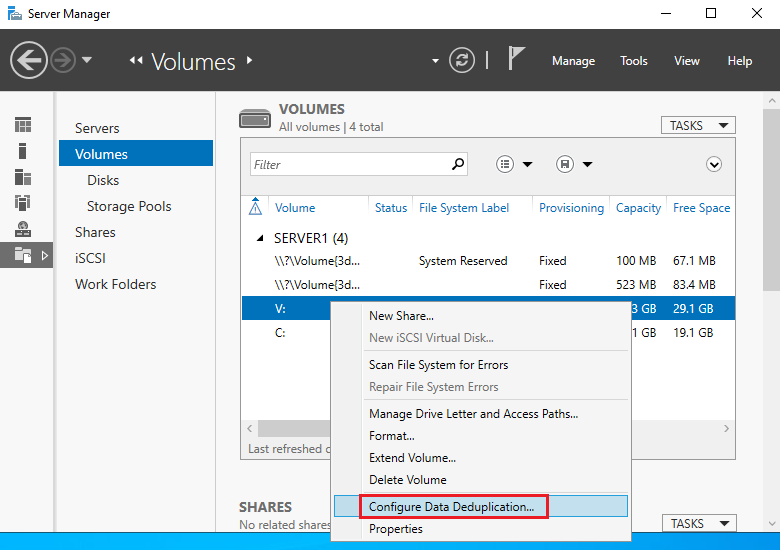
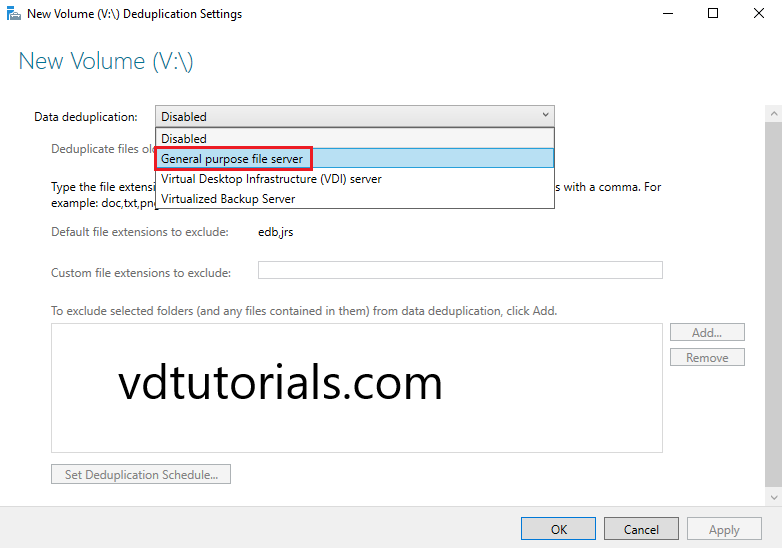
12. Data Deduplication Disabled by default, Select General purpose file server.
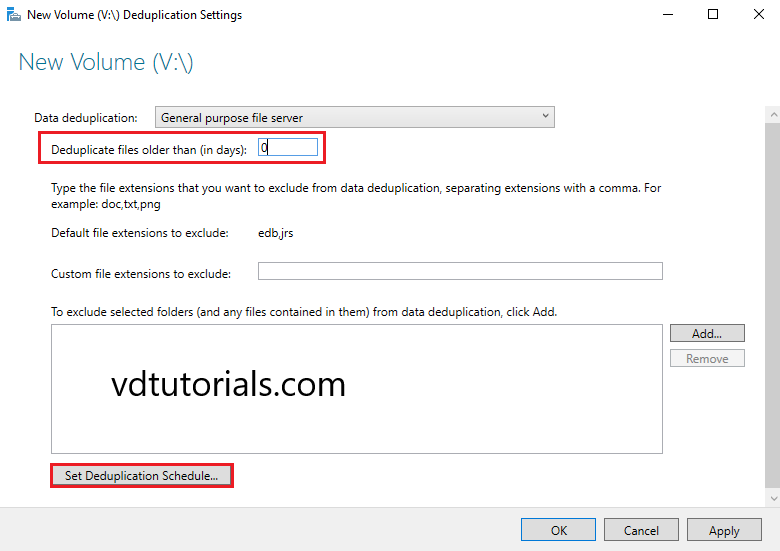
13. Configure Deduplicate files older than (in days) and Click Set Deduplication Schedule.
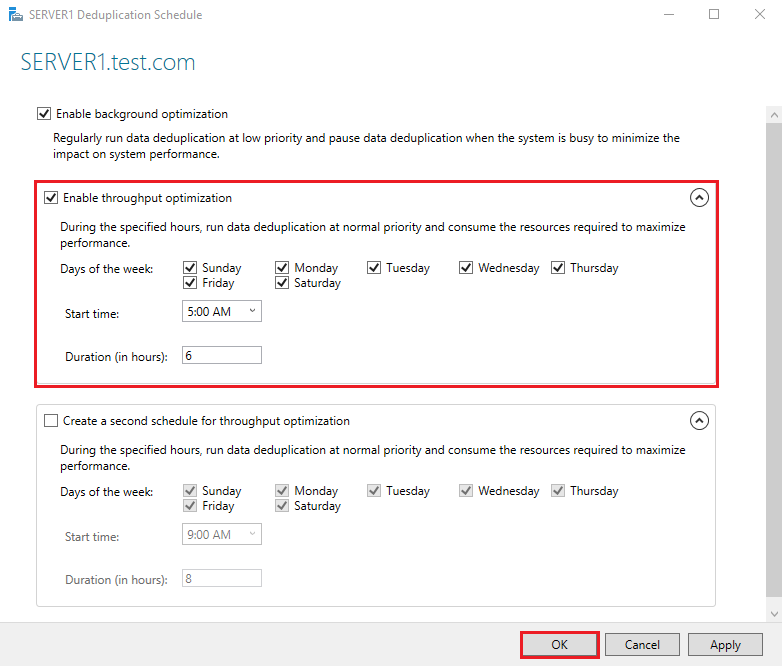
14. Enable throughput optimization, configure Days of the week, start time, and Duration (in hours) and click OK.
15. Click OK.
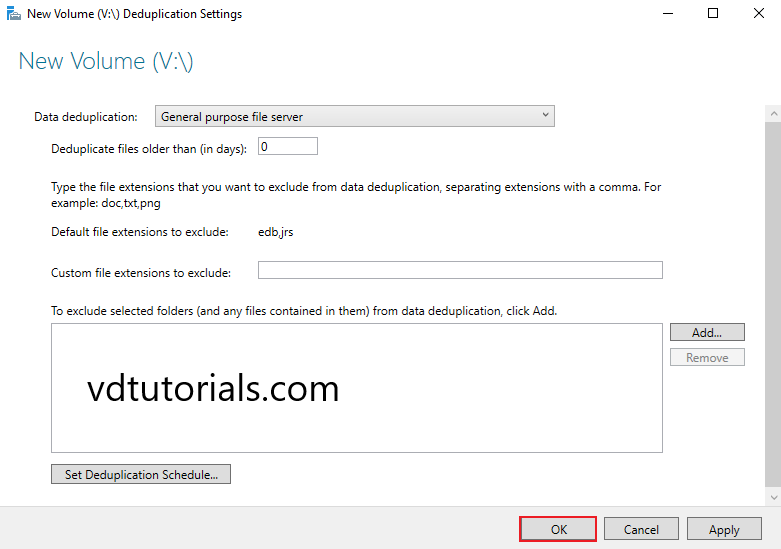
16. Data Deduplication has been Configured, Verify the Data Deduplication status.
