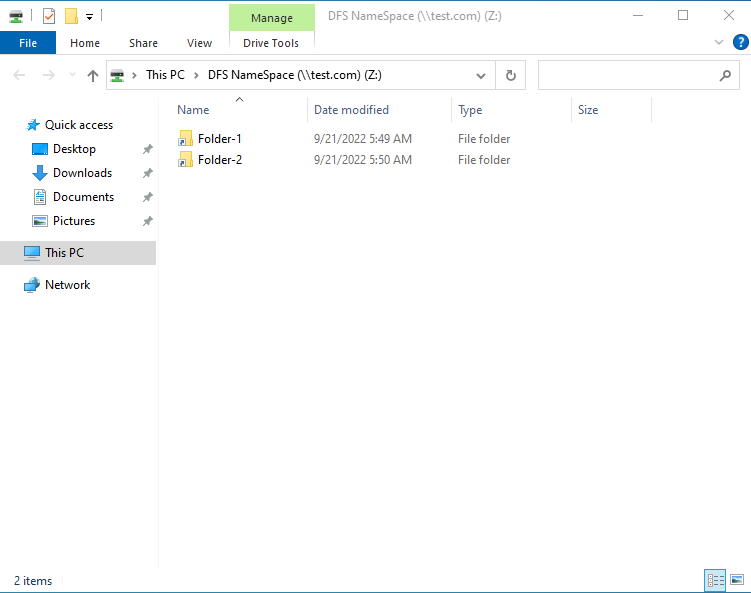
DFS (Distributed File System) Namespaces enable a group of shared folders located on different servers into one or more logical structured namespaces.
Table of Contents
- Install DFS Namespaces
- Create DFS Namespaces
- Set Folders to DFS NameSpace
Demo environment
- Computer Name: server1.test.com
- Operating System: Windows Server 2022 Datacenter
- IP Address: 192.168.0.2
Steps for Install DFS Namespaces
- Open Add roles and features Wizard
- Select installation type
- Select destination server
- Select server roles
- Select features
- Confirm installation selections
Install DFS Namespaces
1. Open Add roles and features Wizard
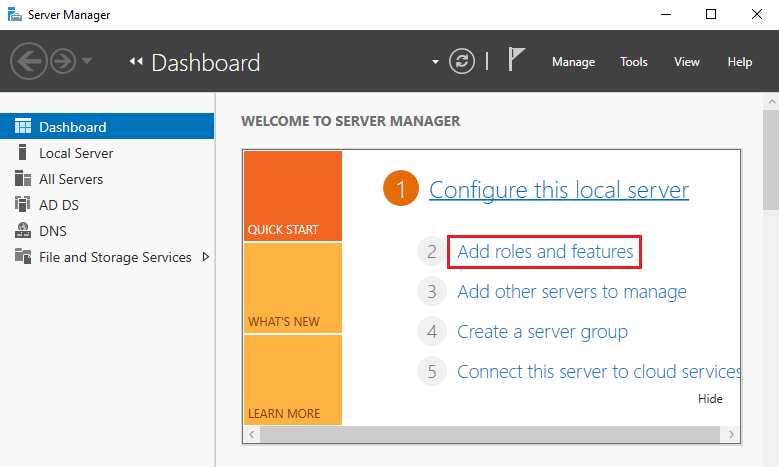
Open the Server Manager dashboard and click Add roles and features.
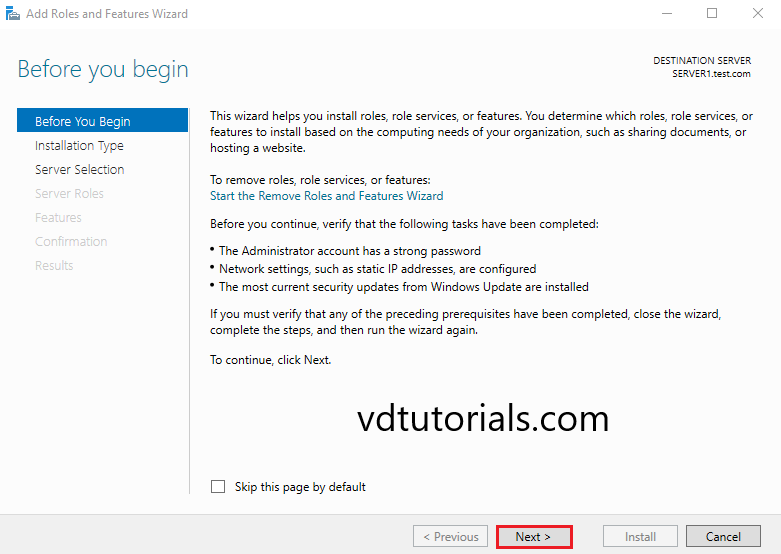
Before you begin, click Next.
2. Select the installation type
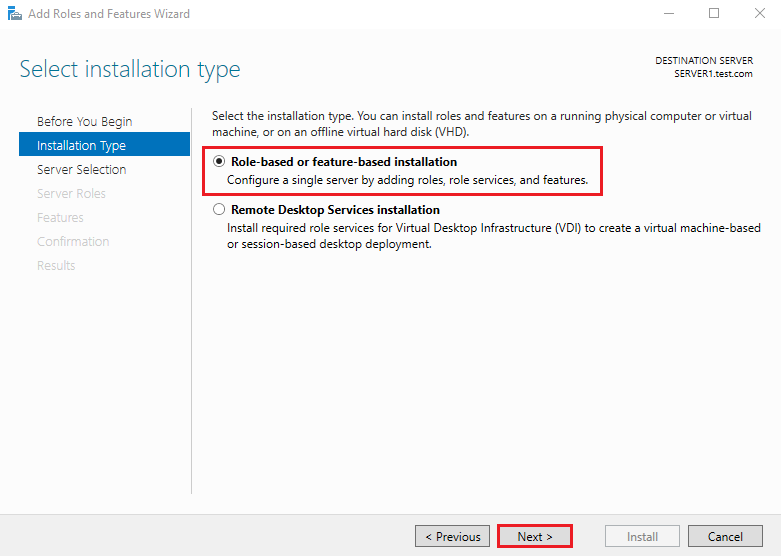
Select Role-based or feature-based installation and click Next.
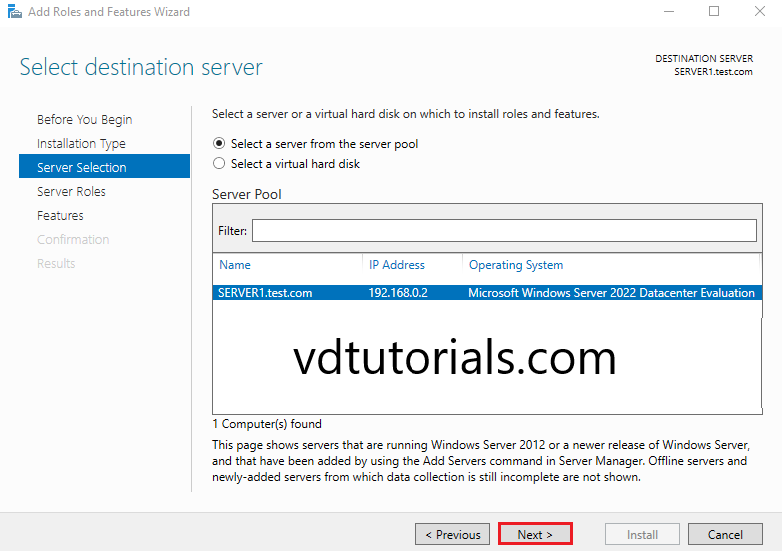
3. Select the destination server
Select a Host to which you’d like to add services and click Next.
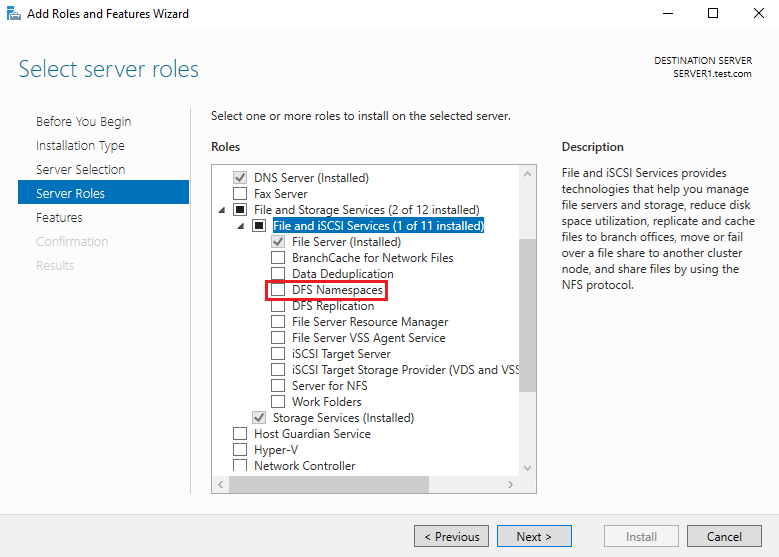
4. Select server roles
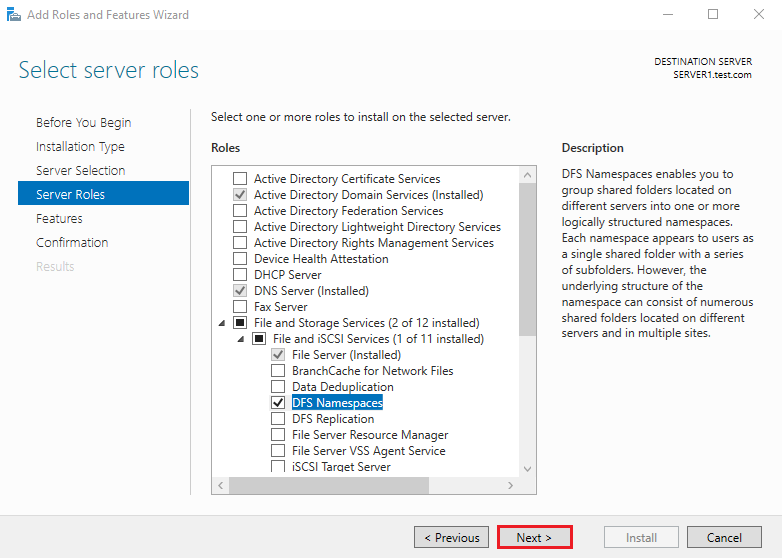
Choose the DFS Namespace box from the server roles page.
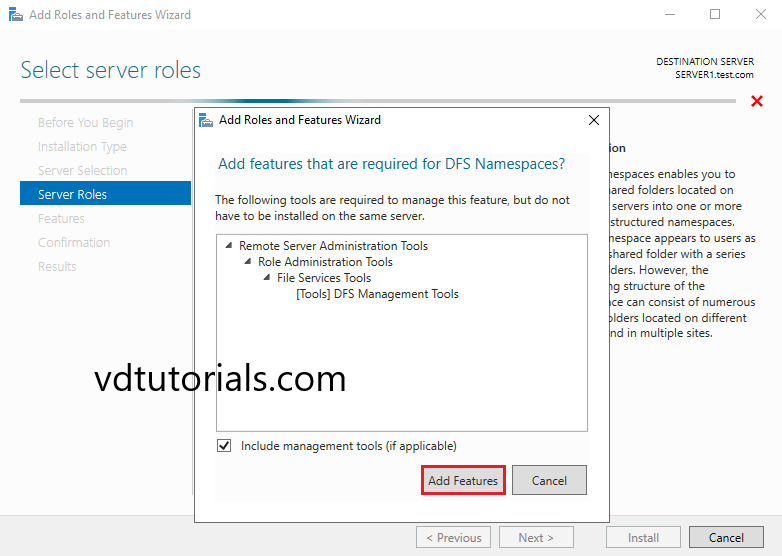
As soon as you choose DFS Namespaces a new window appears. Click Add Features.
Click Next to continue.
5. Select features
On the Select features console, just click Next because we do not require any extra features at the moment.
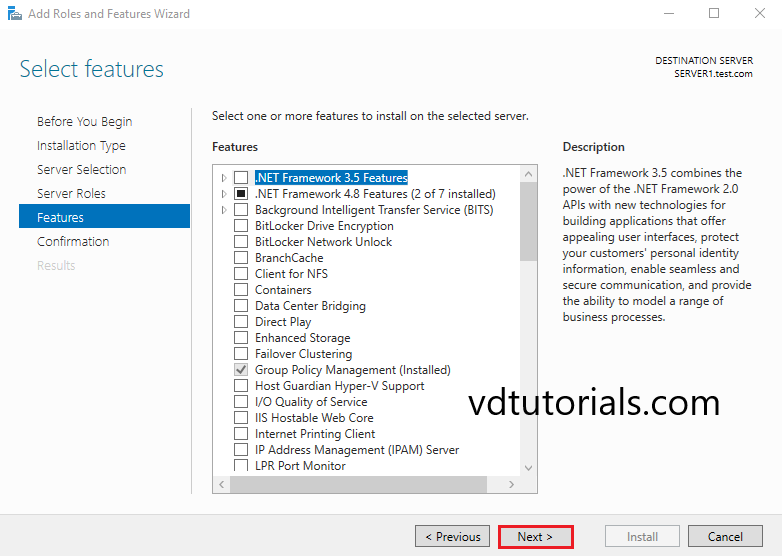
6. Confirm installation selections
Confirm installation selections and click on Install to start the installation process.
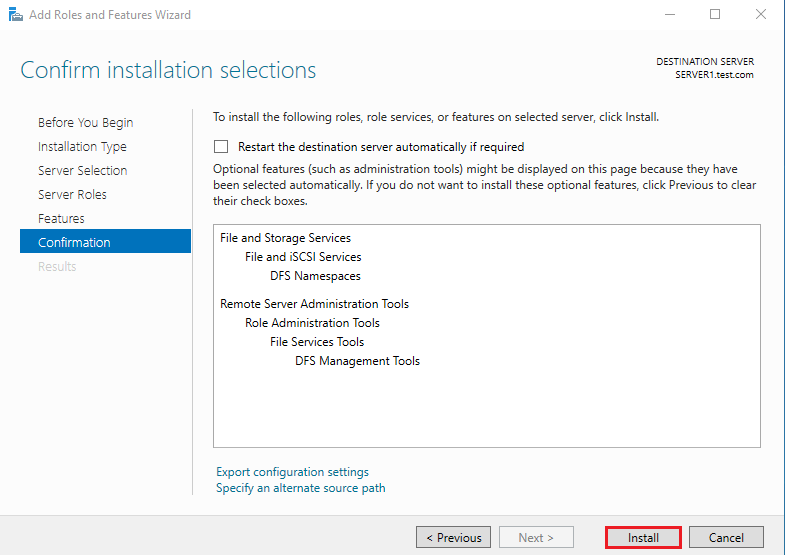
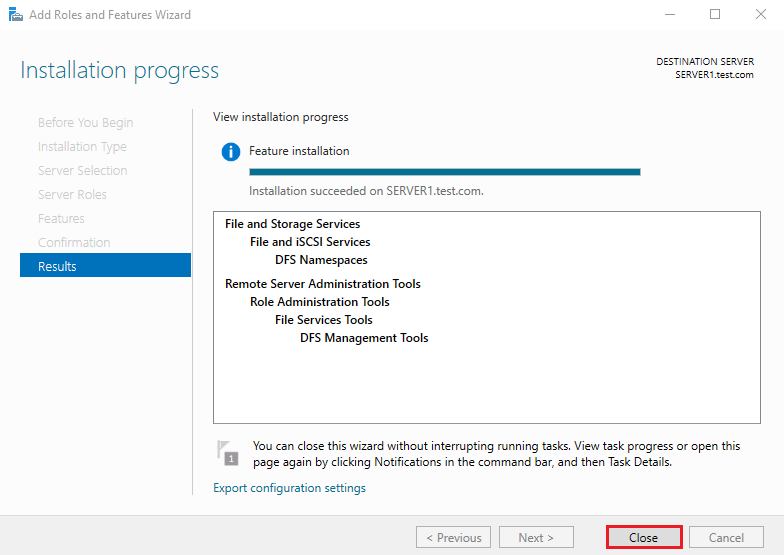
After finishing the installation, click Close.
Create DFS Namespaces
Steps for Create DFS Namespaces
- Open the New Namespace wizard
- Configure Namespace Server
- Configure Namespace Name and Settings
- Configure Namespace Type
- Review Settings and Create Namespace
- Confirmation
1. Open the New Namespace wizard
Open the Server Manager dashboard, click Tools and select DFS Management.
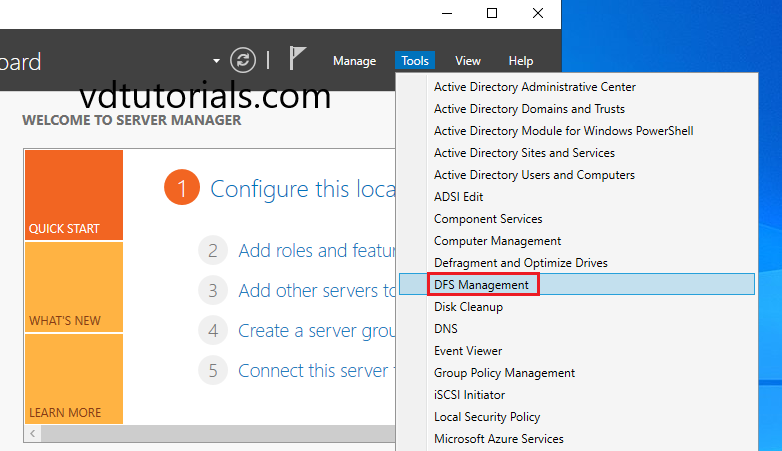
Select New Namespace.
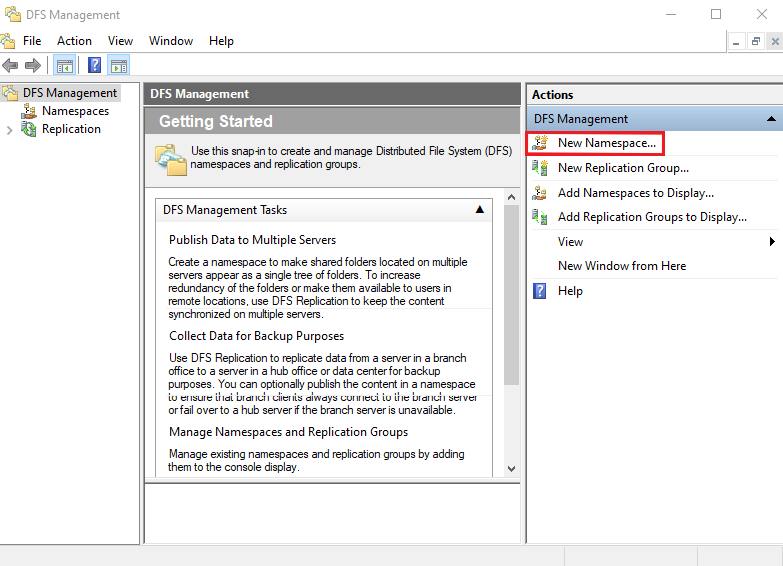
2. Configure Namespace Server
Click Browse.
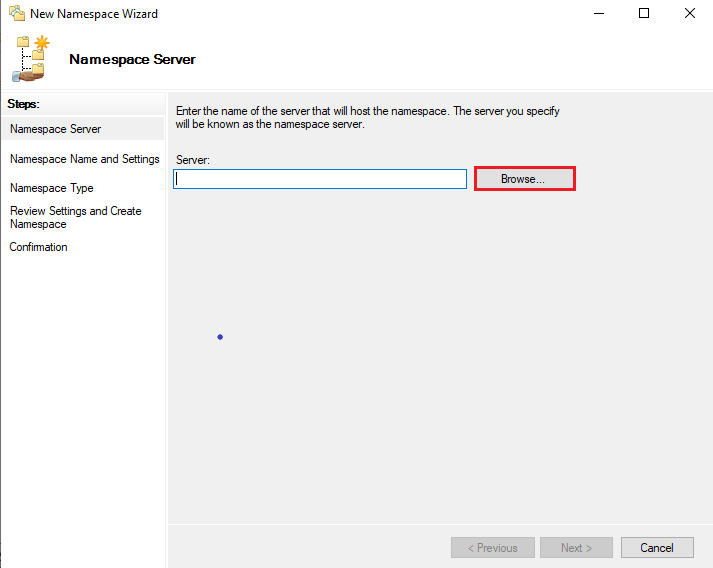
Click Advanced.
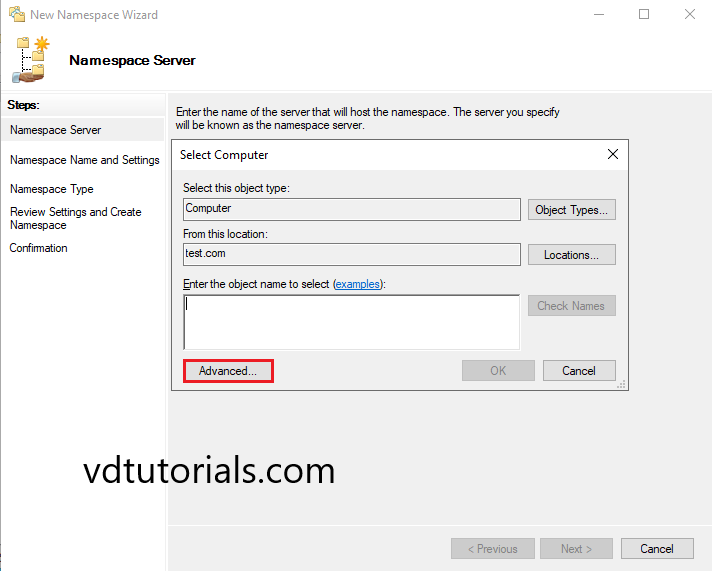
Click Find Now.
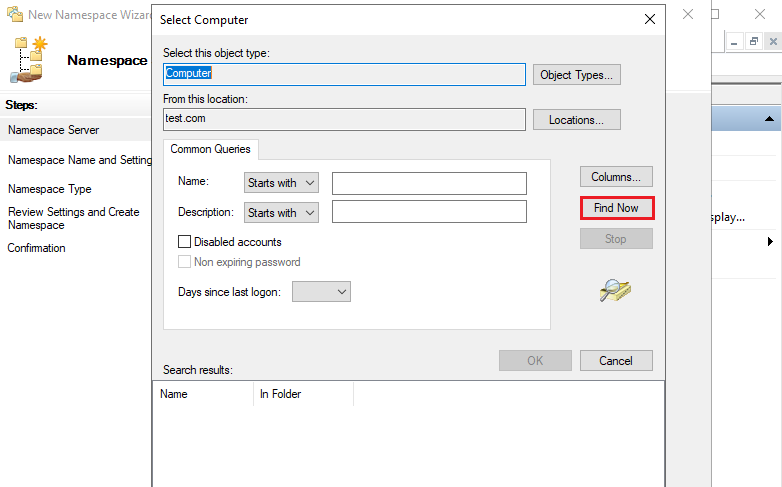
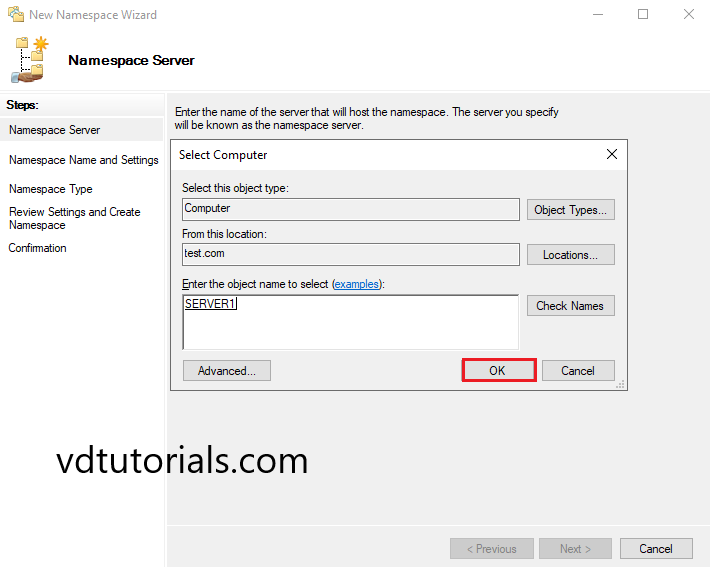
Select the Server
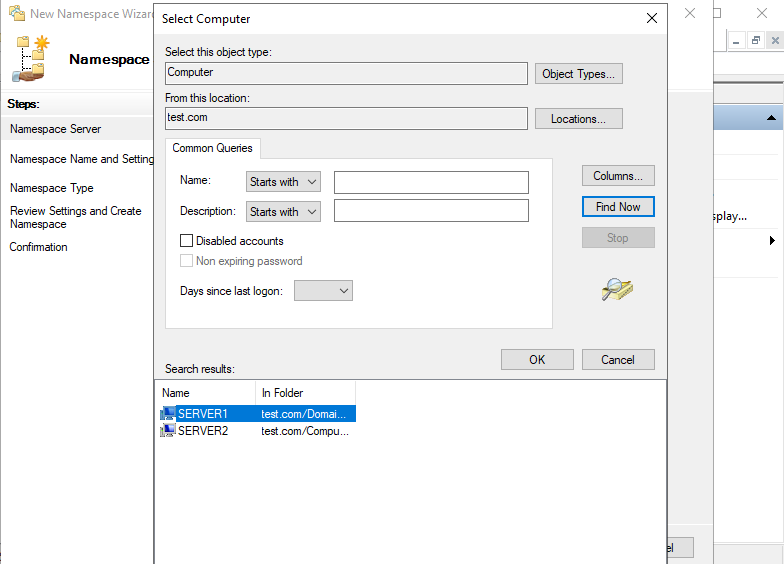
Click OK.
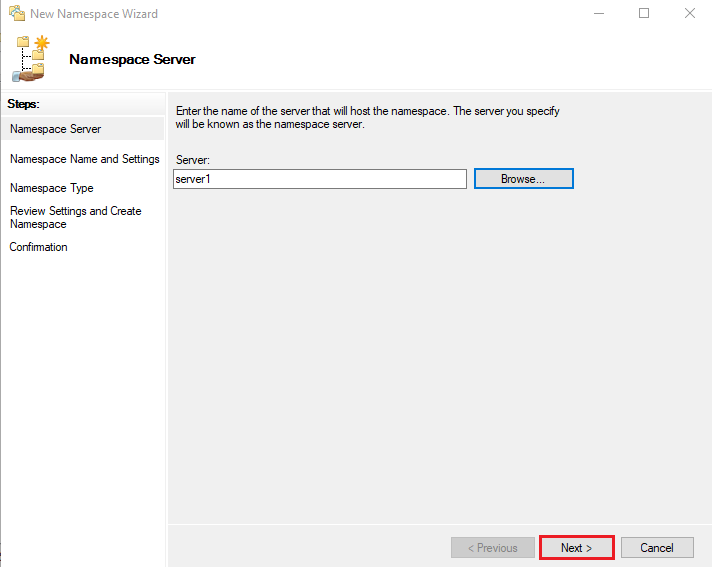
Click Next.
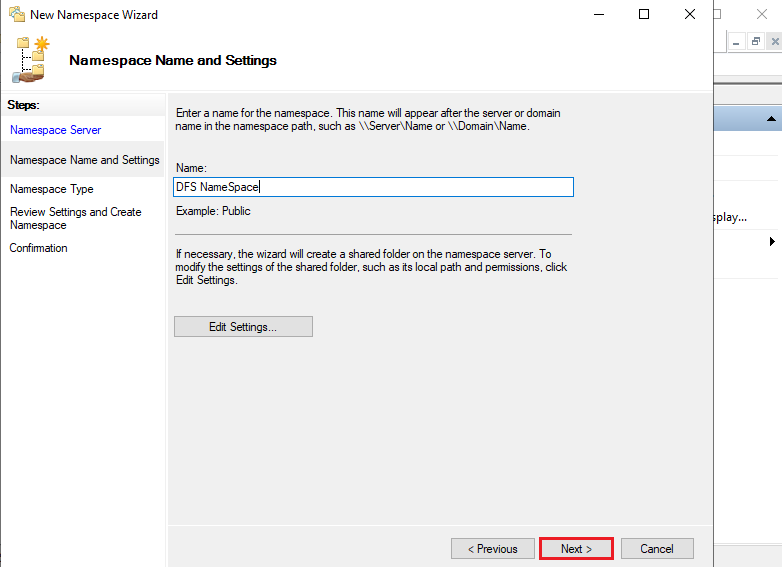
3. Configure Namespace Name and Settings
Enter the DFS Namespace name and click Next.
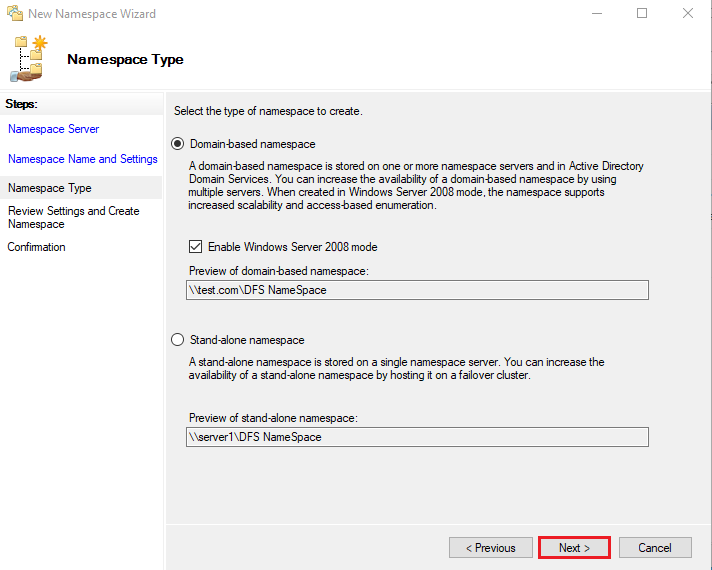
4. Configure Namespace Type
Click Next.
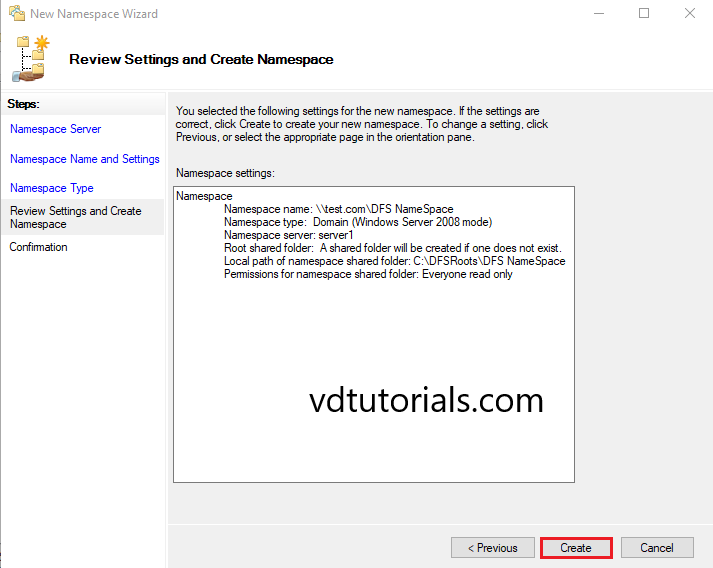
5. Review Settings and Create Namespace
Click Create.
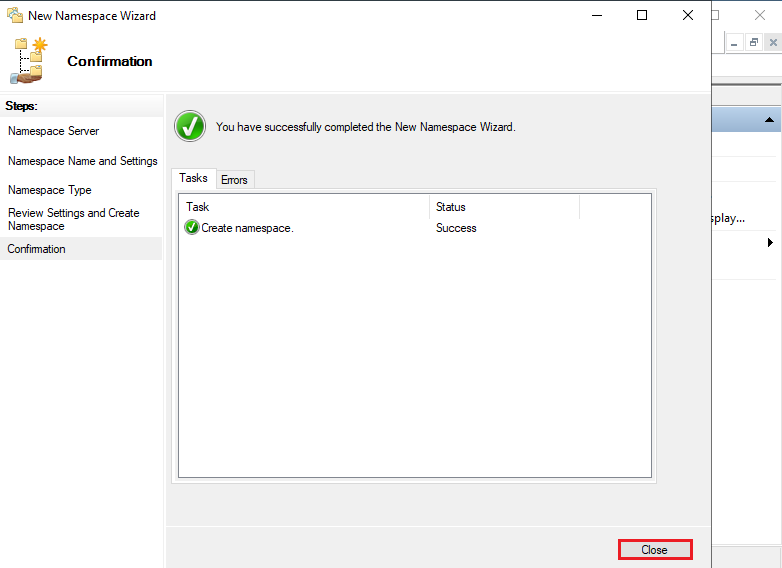
6. Confirmation
Click Close
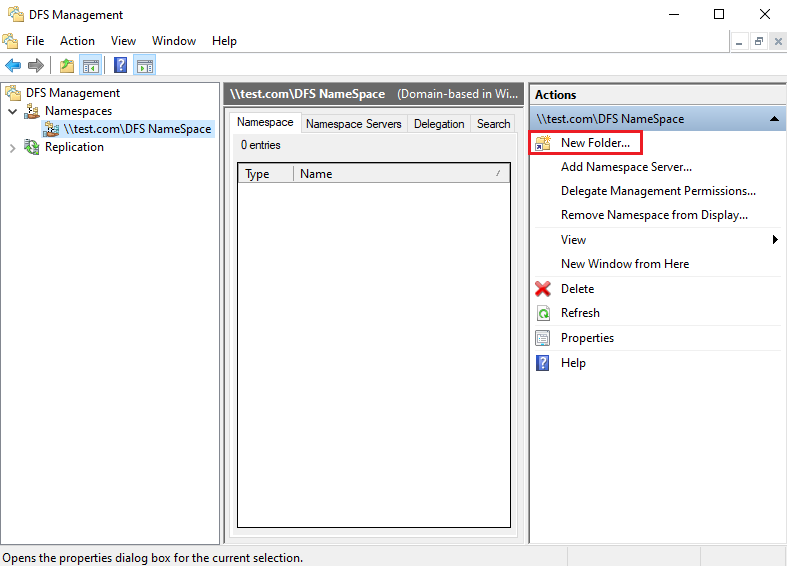
Set Folders to DFS NameSpace
1. Select the Namespace and Click New Folder.
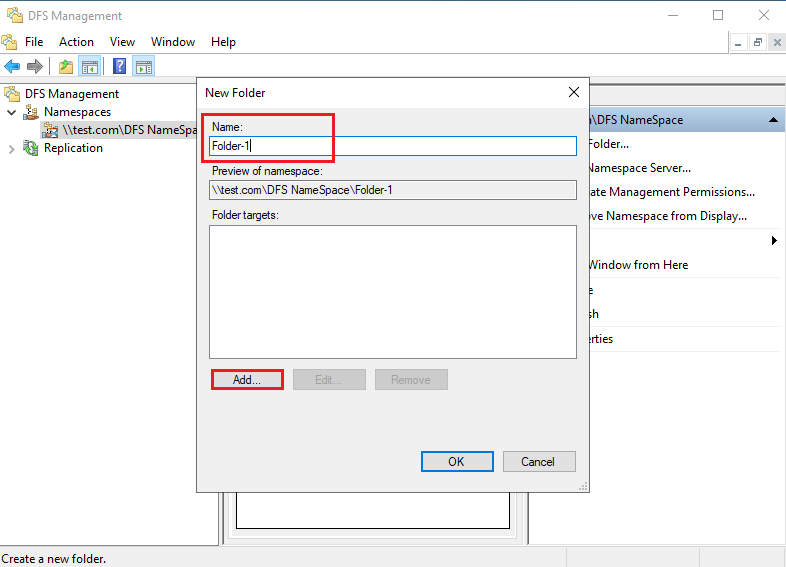
2. Enter Folder Name and Click Add.
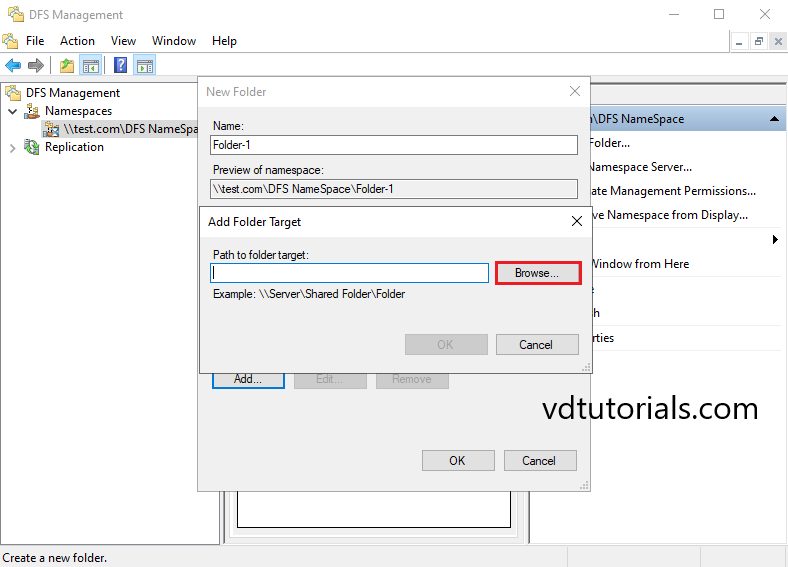
3. Click Browse.
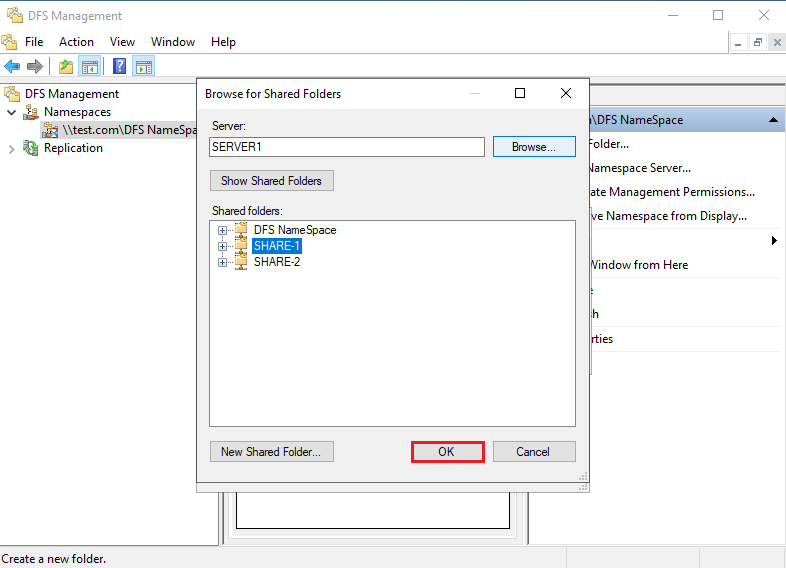
4. Select the Shared folder and click OK.
5. Click OK.
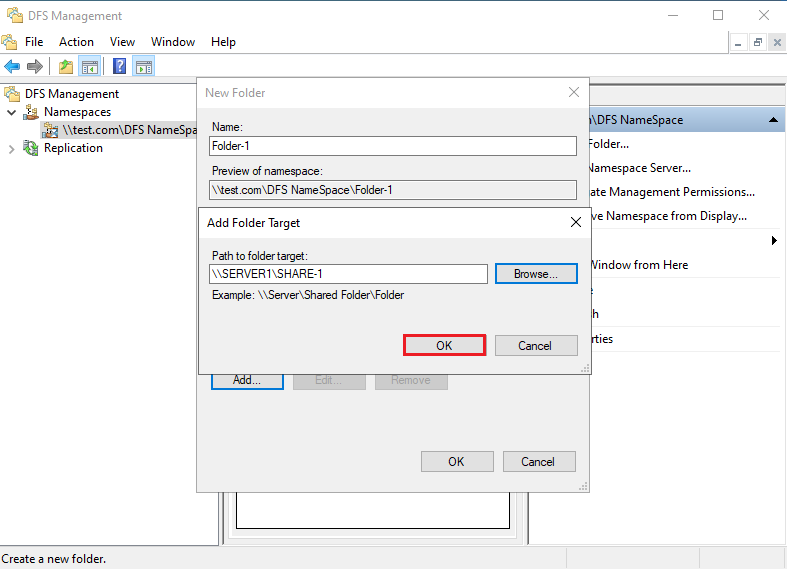
6. Click OK.
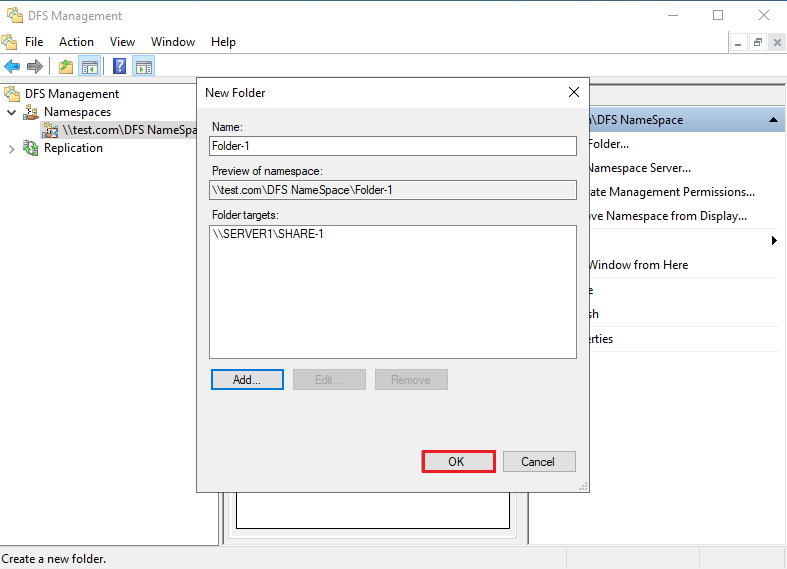
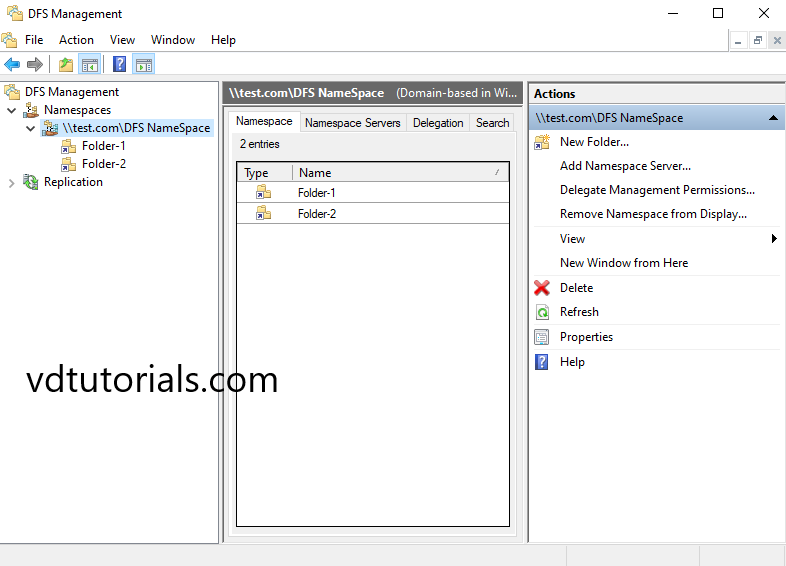
7. A folder has been created.
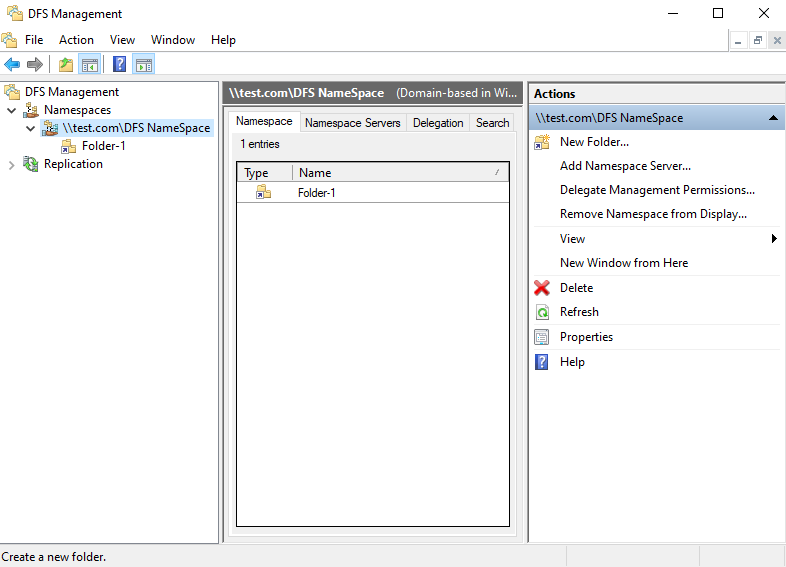
.8. To access the share from computers in the same AD domain, specify the DFS Namespace root or folders under it as follows.
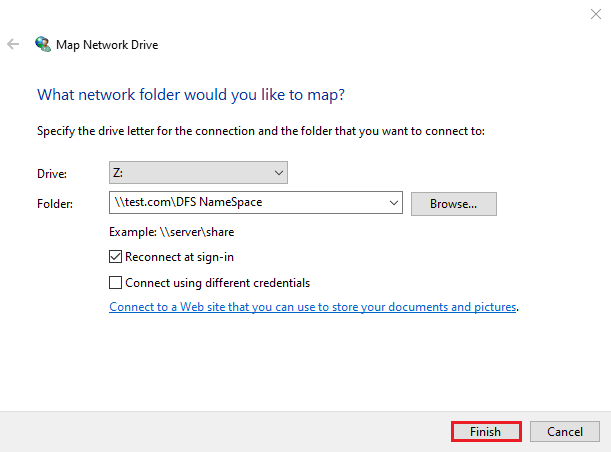
9. To access the share from computers in the same AD domain, specify the DFS Namespace root or folders under it as follows and click Finish.
- Folder: \\test.com\DFS NameSpace
10. To access the share from computers in the same AD domain, specify the DFS Namespace root or folders under it as follows.
