DHCP server dynamically assigns an IP address and other network configuration parameters to each device on a network. A DHCP scope is a valid range of IP addresses that are available for client computers.
Table of Contents
- Install Dynamic Host Configuration Protocol
- Configure Dynamic Host Configuration Protocol
- Configure the IP address assigned by DHCP
Install Dynamic Host Configuration Protocol
Steps for Install Dynamic Host Configuration Protocol
- Open Add roles and features Wizard
- Select installation type
- Select destination server
- Select server roles
- Select features
- Confirm installation selections
Server demo environment
- Computer Name: server1.test.com
- Operating System: Windows Server 2022 Datacenter
- IP Address: 192.168.0.3
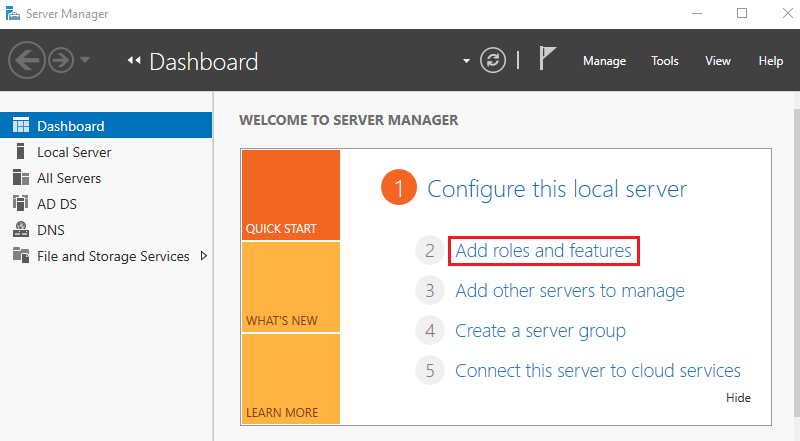
1. Open Add roles and features Wizard
Open the Server Manager dashboard and click Add roles and features.
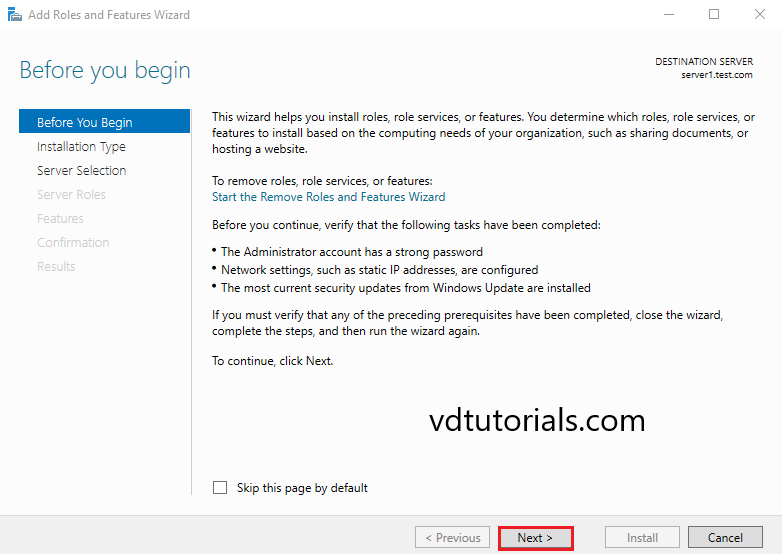
Before you begin, click Next.
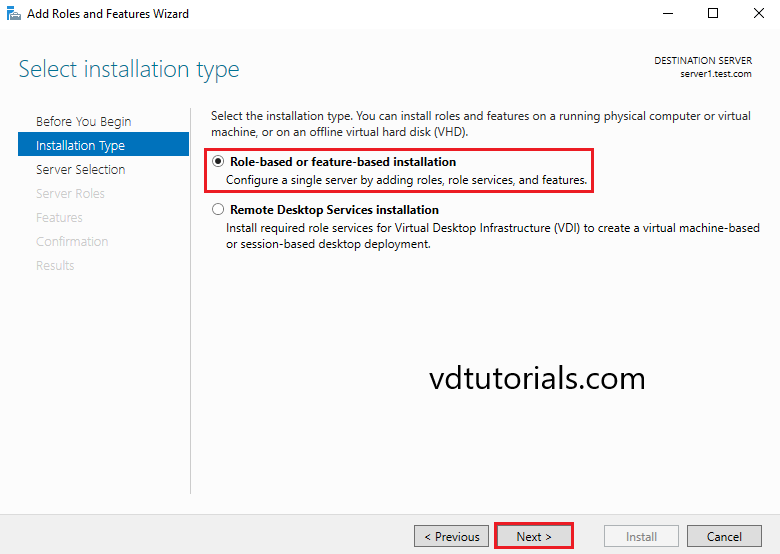
2. Select installation type
Select Role-based or feature-based installation and click Next.
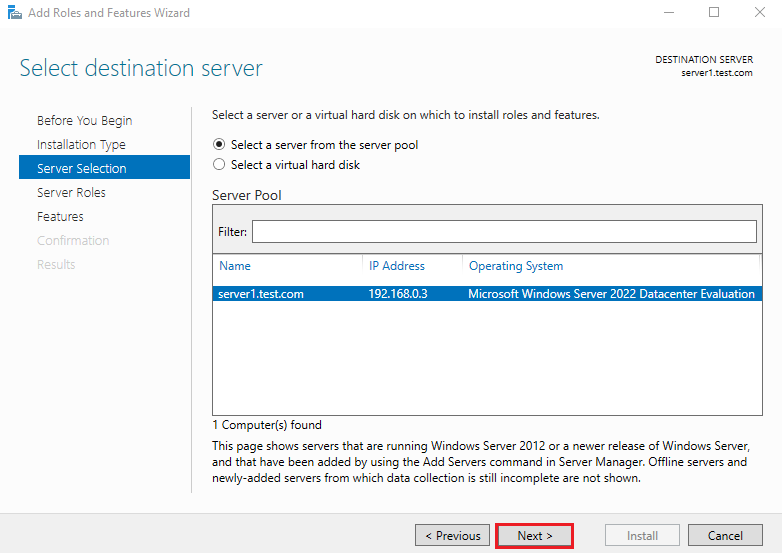
3. Select destination server
Select a Host to which you’d like to add services and click Next.
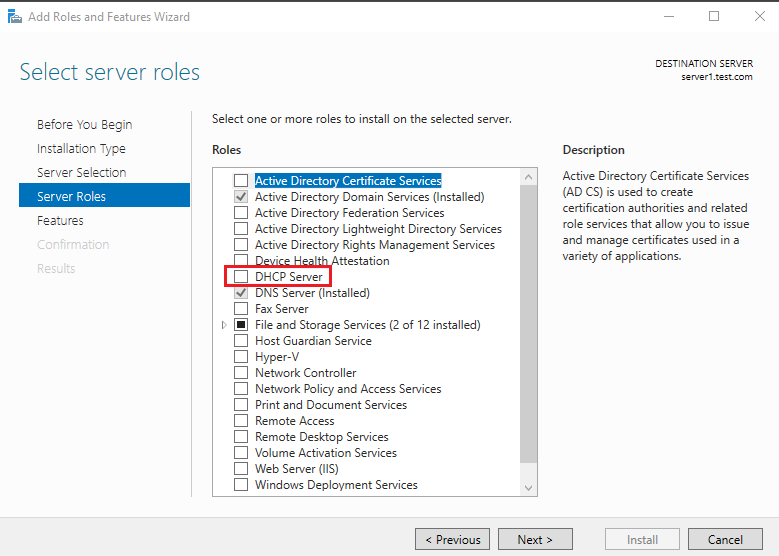
4. Select server roles
Choose the DHCP Server box from the server roles page.
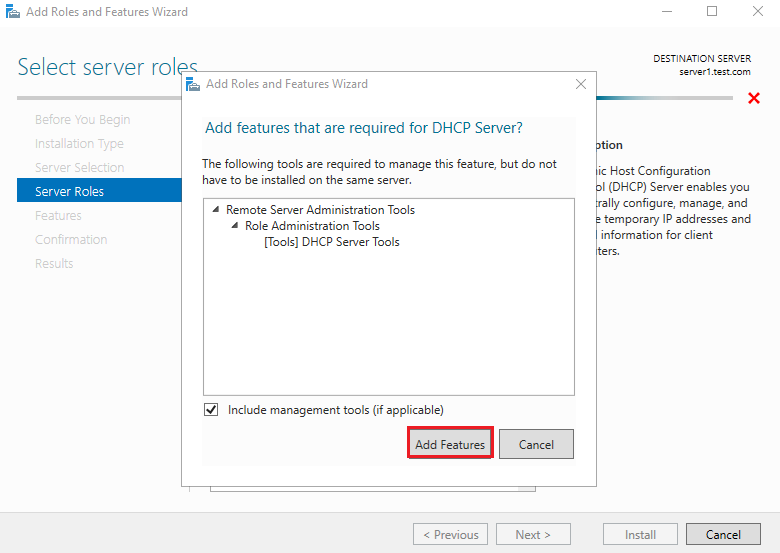
As soon as you choose DHCP Server a new window appears. Click Add Features.
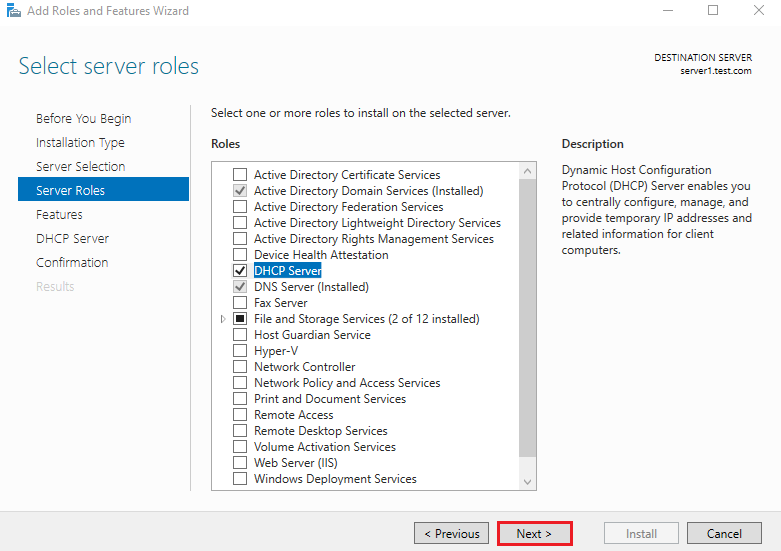
Click Next to continue.
5. Select features
On the select features console, just click Next because we do not require any extra features at the moment.
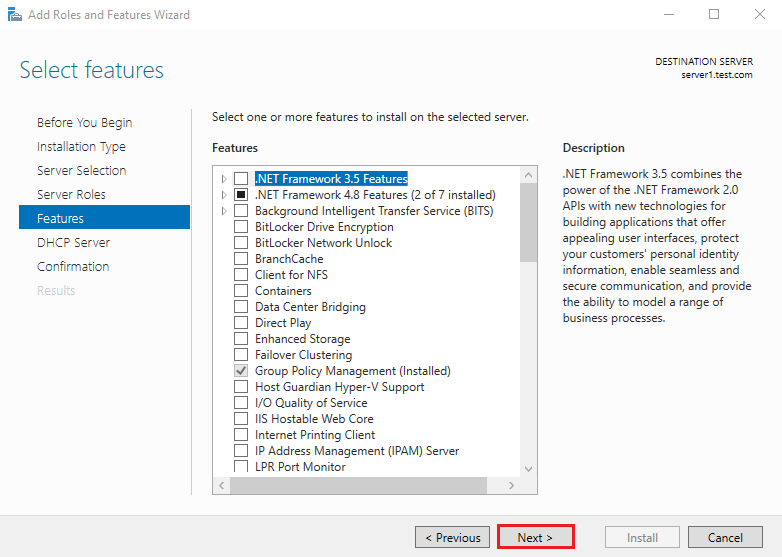
On the DHCP Server console, you can read brief information about the DHCP Server. Click Next to continue.

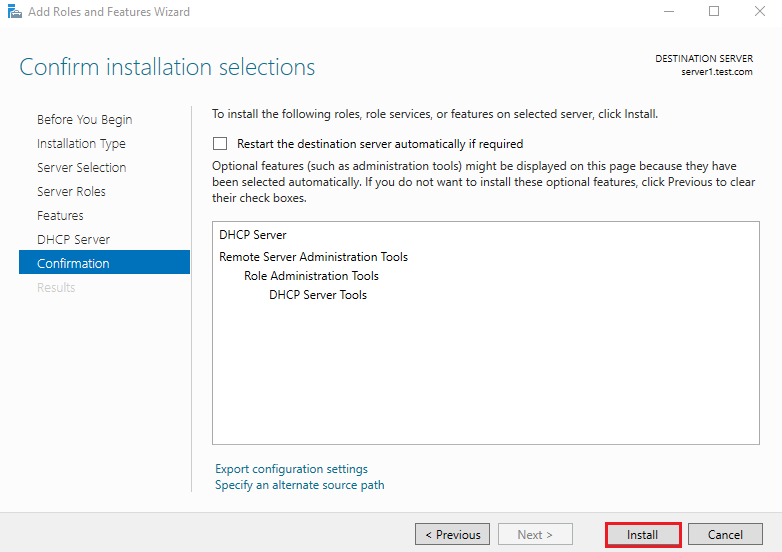
6. Confirm installation selections
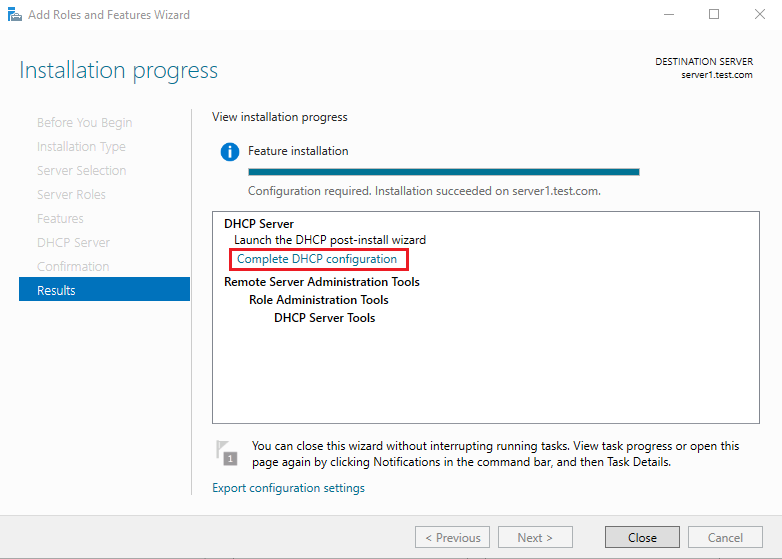
Configure Dynamic Host Configuration Protocol
Click Complete DHCP configuration.
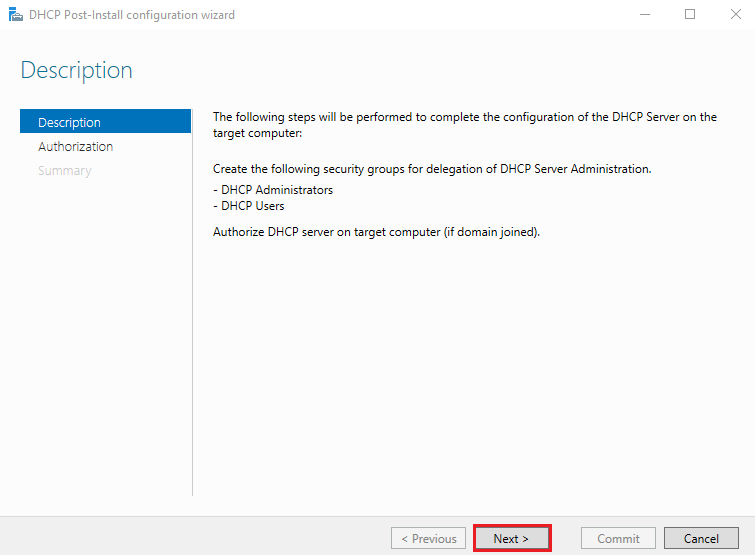
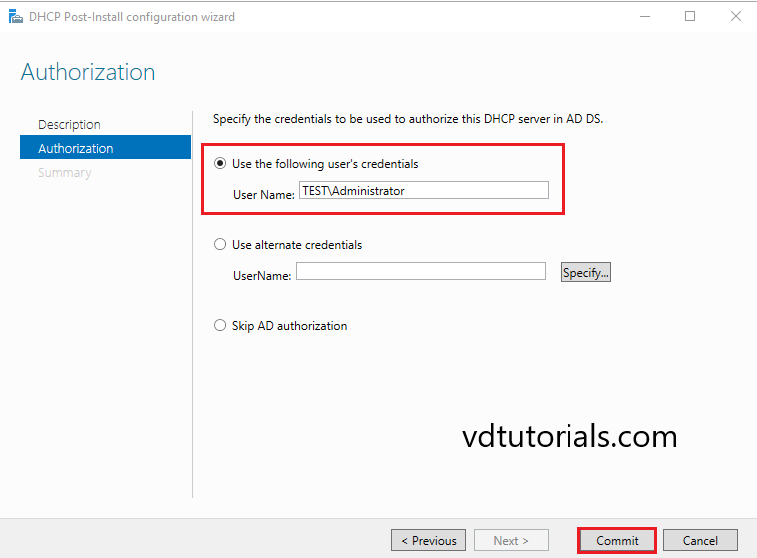
DHCP Post Insall configuration wizard
In Description,click Next to continue.
In Authorization, Click Commit.
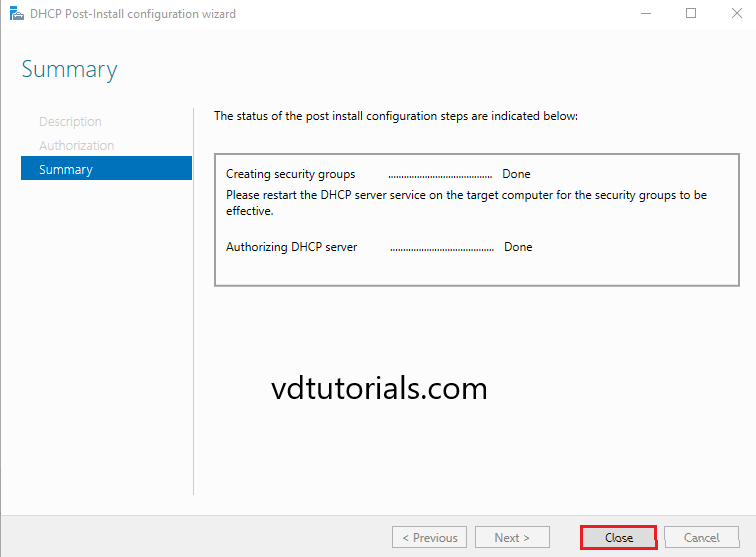
In Summary, click Close.
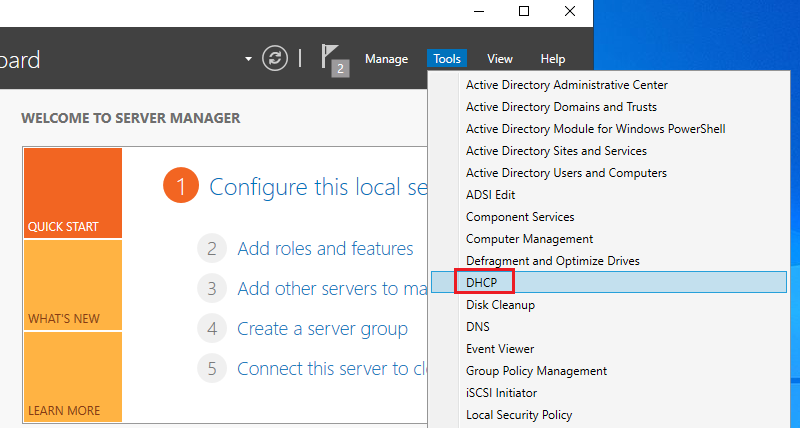
Open the Server Manager dashboard, click Tools and select DHCP.
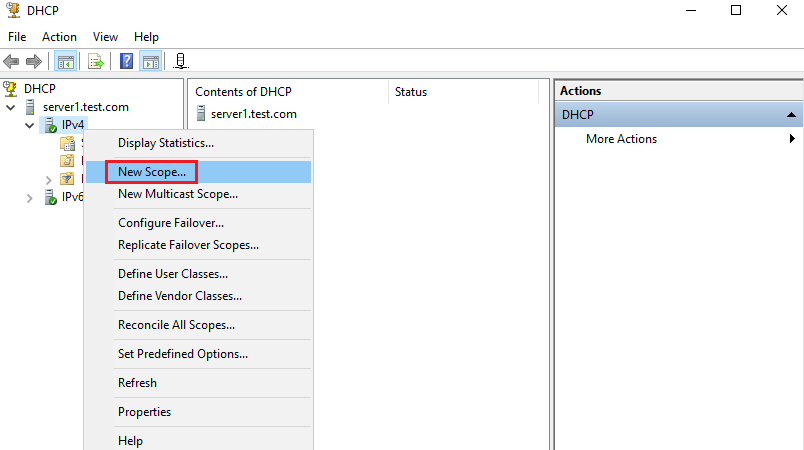
Right Click on IPv4 and select New Scope.
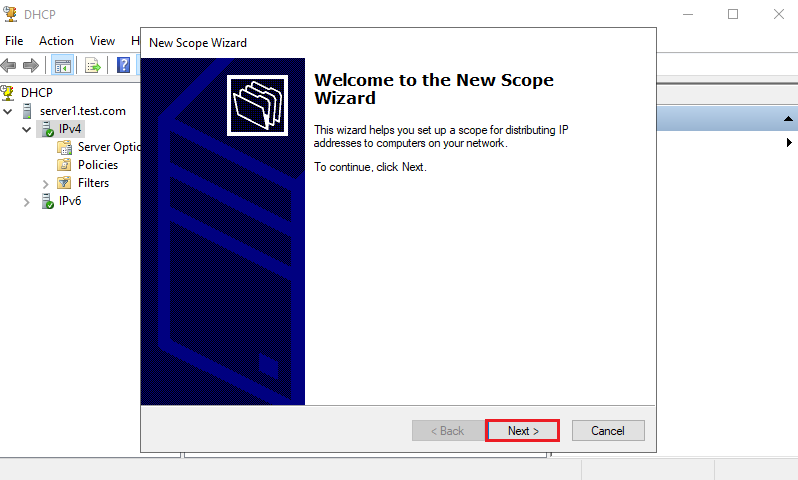
Click Next to start New Scope Wizard.
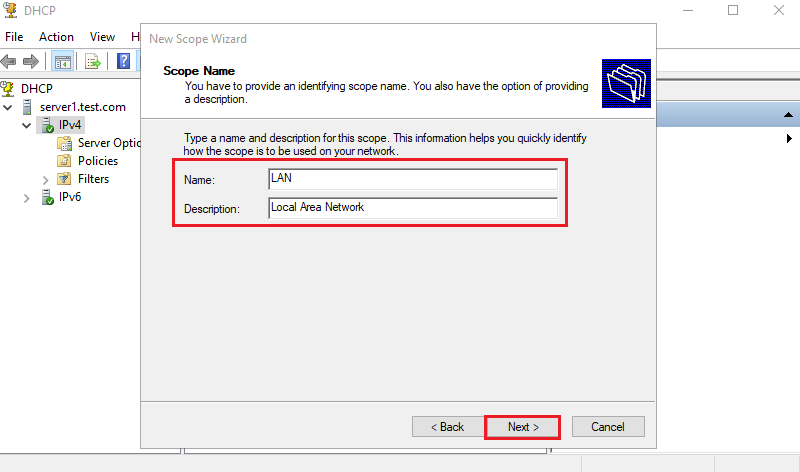
Enter the name and description for this scope and Click Next.
- Name: LAN
- Description: Local Area Network
Enter IP address range for lease and subnet mask and click Next.
- Start IP address: 192.168.0.150
- End IP address: 192.168.0.200
- Length: 24
- Subnet mask: 255.255.255.0

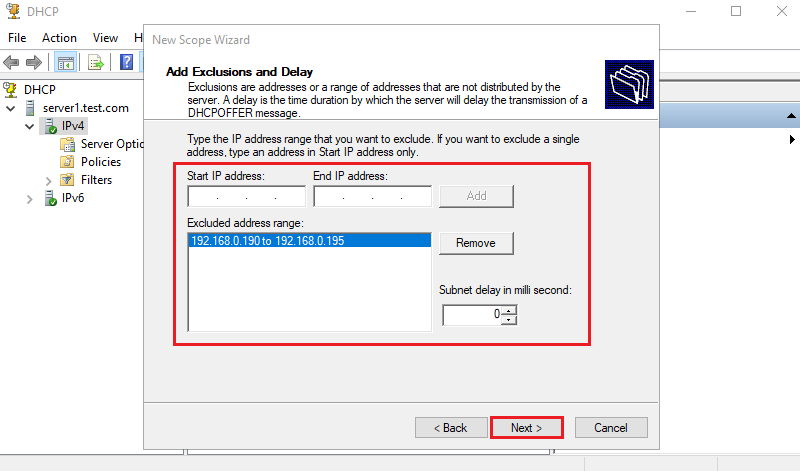
Add Exclusions and click Next.
- Excluded address range: 192.168.0.190 to 192.168.0.195
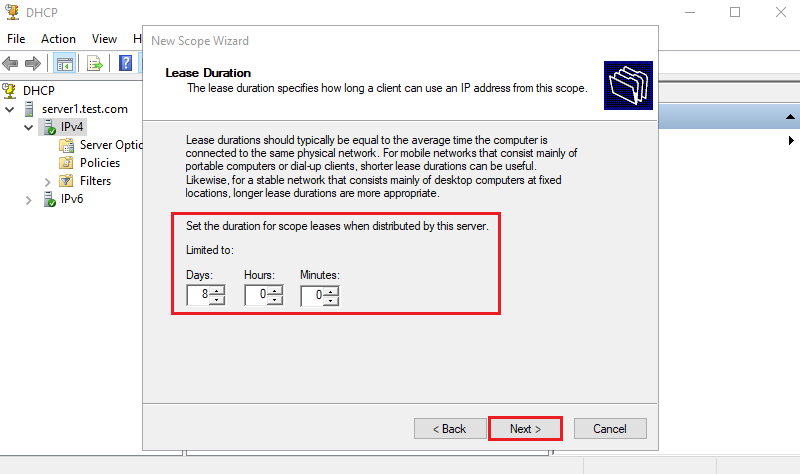
In Lease Duration, Click Next.The default lease duration is 8 days.
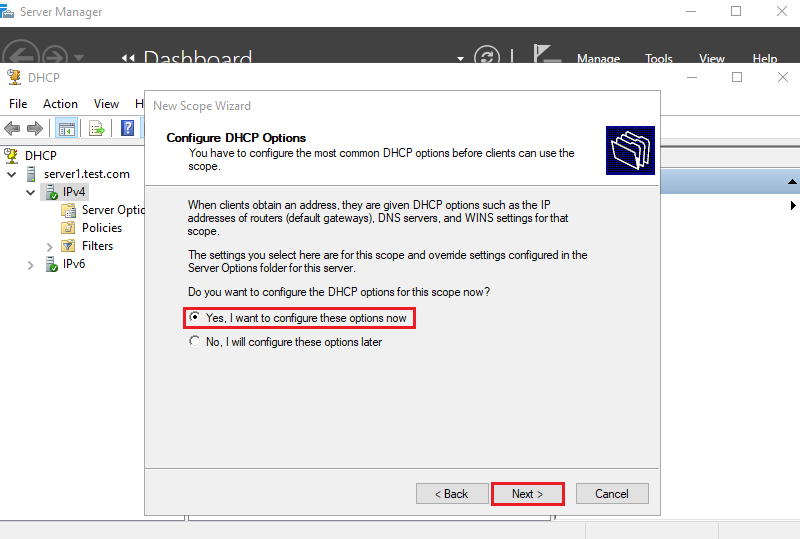
In Configure DHCP Options Choose Yes, I want to configure these options now and Click Next.
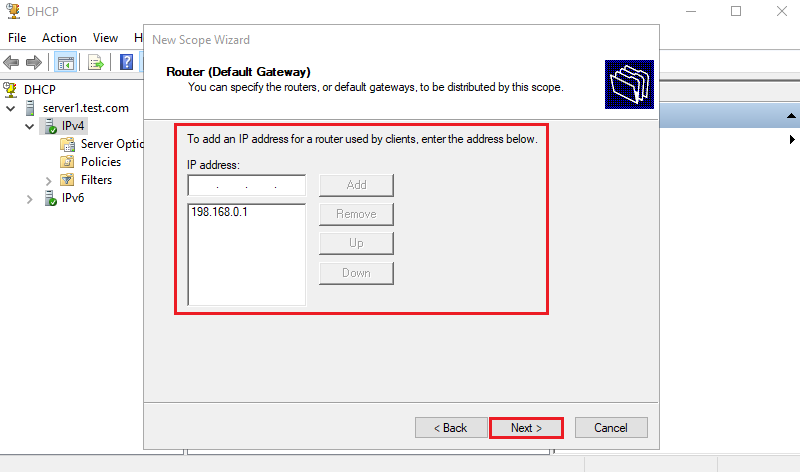
Enter the default gateway of your network and click Next.
- Default Gateway: 192.168.0.1
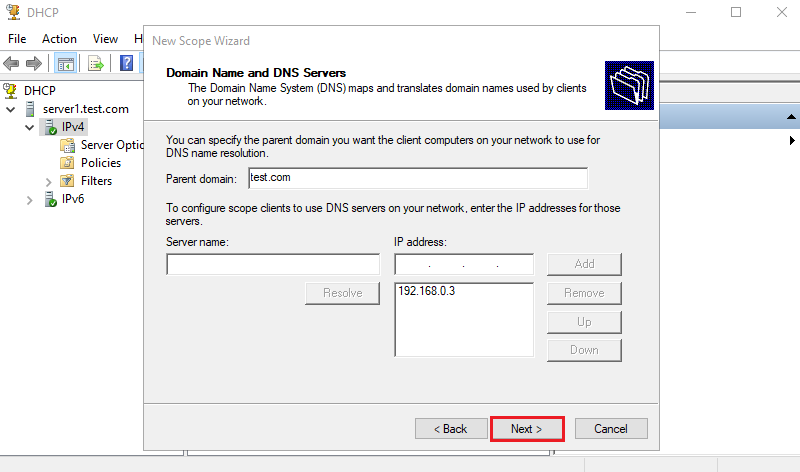
Input the Domain name and DNS server of your network. If your Server is in Active Directory Domain, it is set automatically. Click Next.
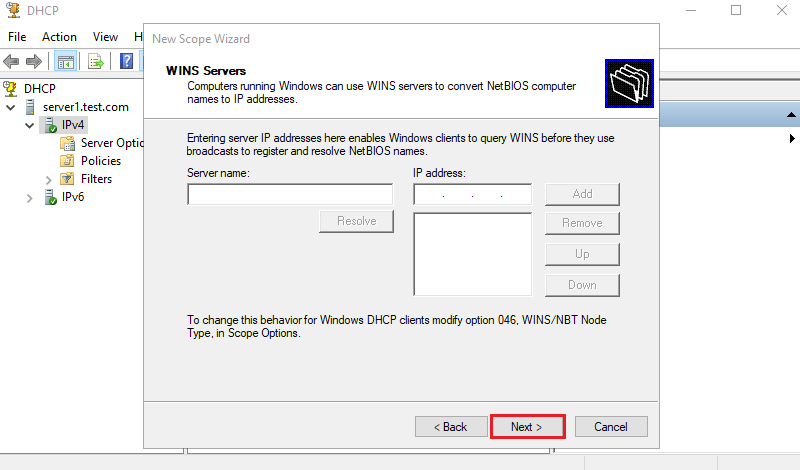
Click Next to continue.
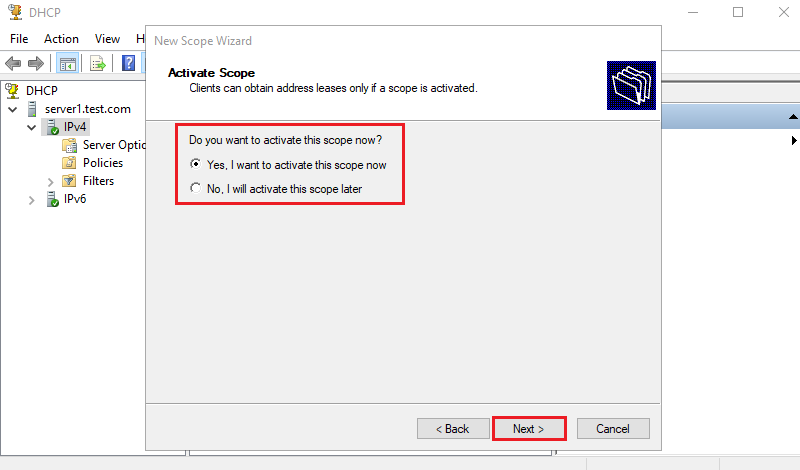
Select Yes, I want to activate this scope now and click Next to activate Scope.
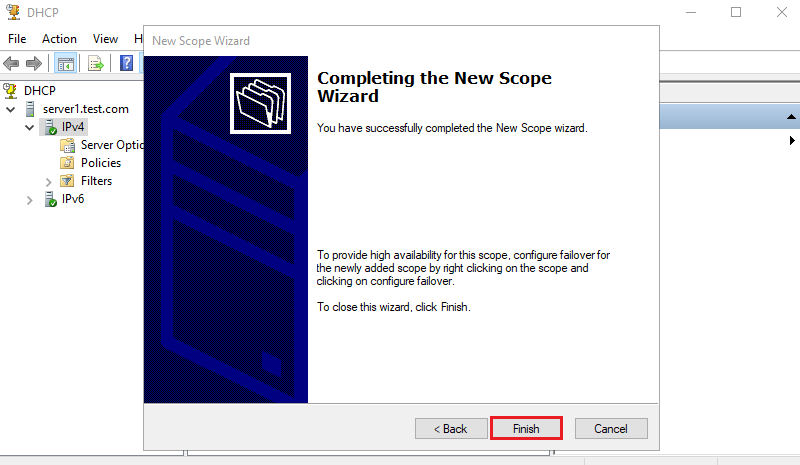
Click Finish to close New Scope Wizard.
Configure the IP address assigned by DHCP
Make sure the client and the DHCP server are on the same network
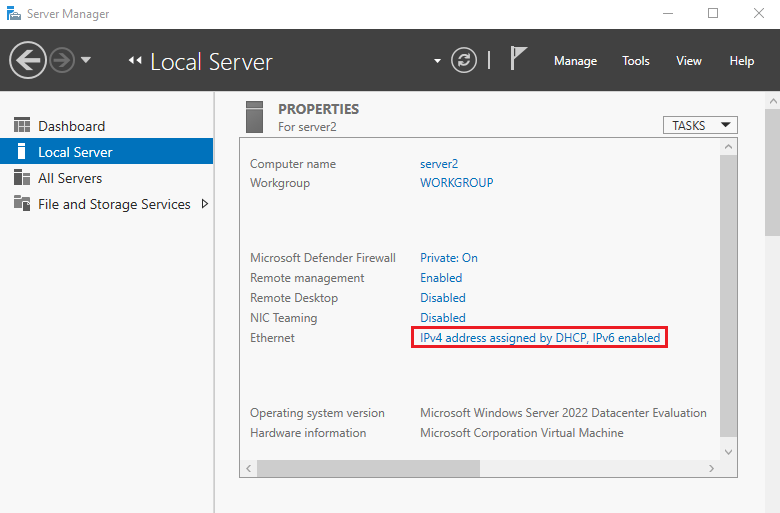
Client demo environment
Computer Name: server2
Operating System: Windows Server 2022 Datacenter
Open the Server Manager dashboard, select Local Server, and click Ethernet.
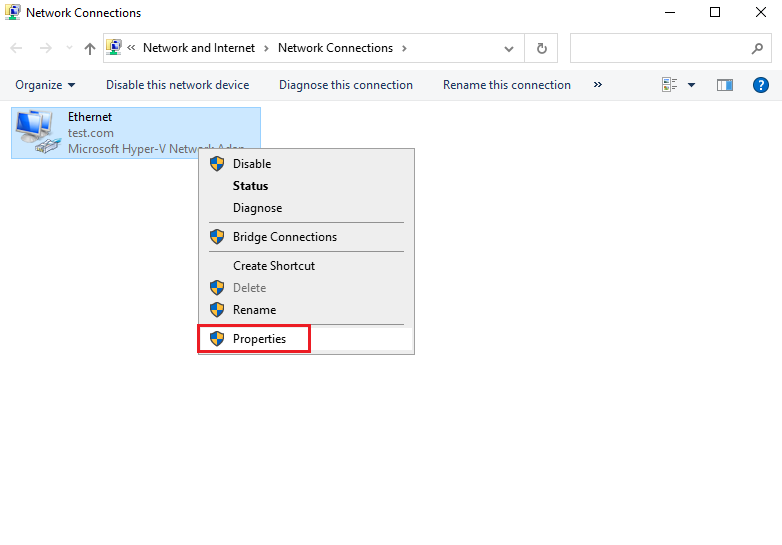
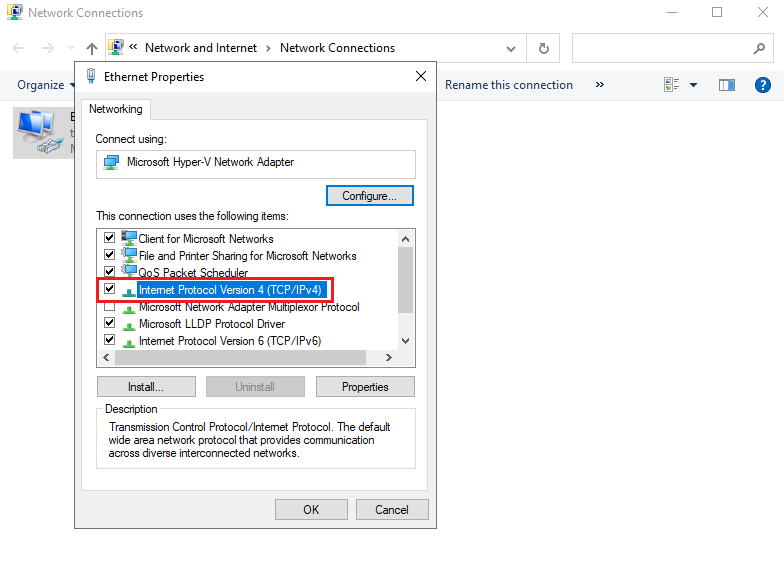
Right Click on Ethernet and click Properties.
In Ethernet Properties, click Internet Protocol Version 4 (TCP/IPv4).
In Internet Protocol Version 4 (TCP/IPv4) Properties, select Obtain an IP address automatically, Obtain DNS server address automatically and click OK.
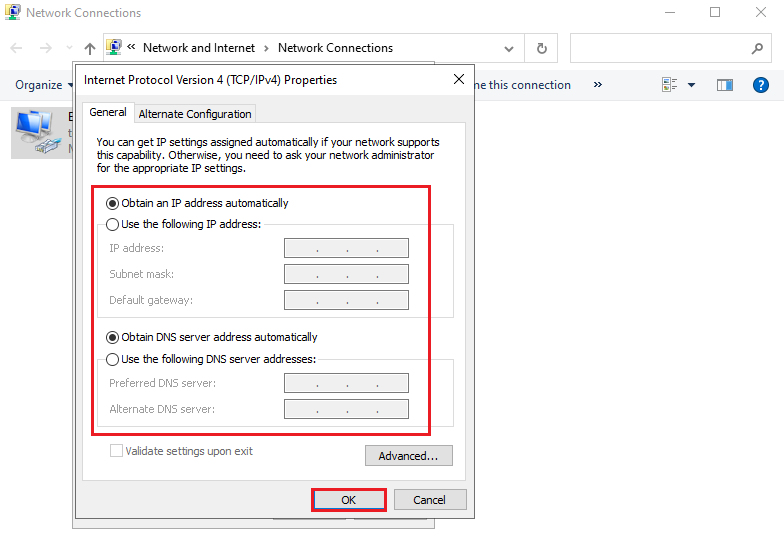
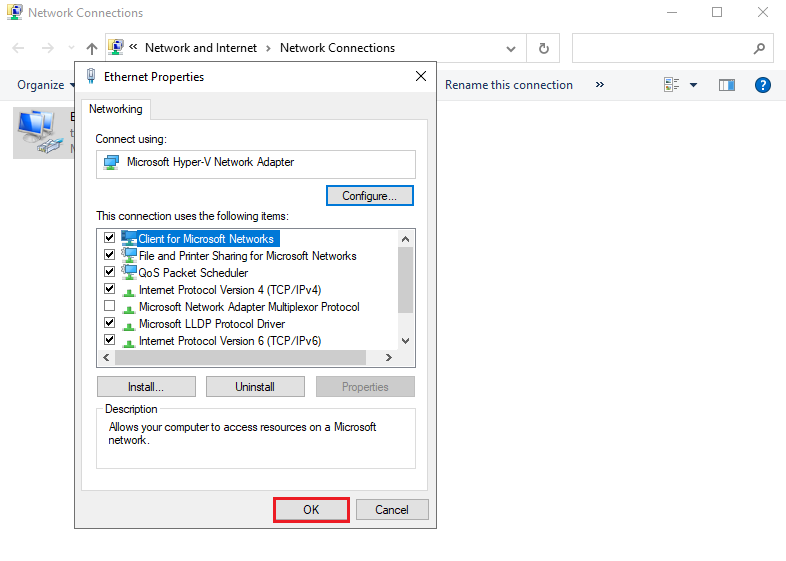
Click OK to continue.
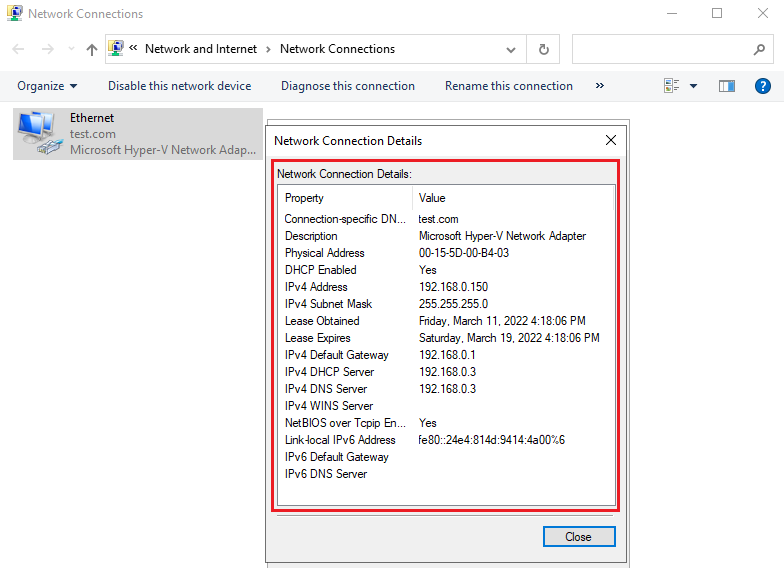
Right Click on Ethernet and Status.
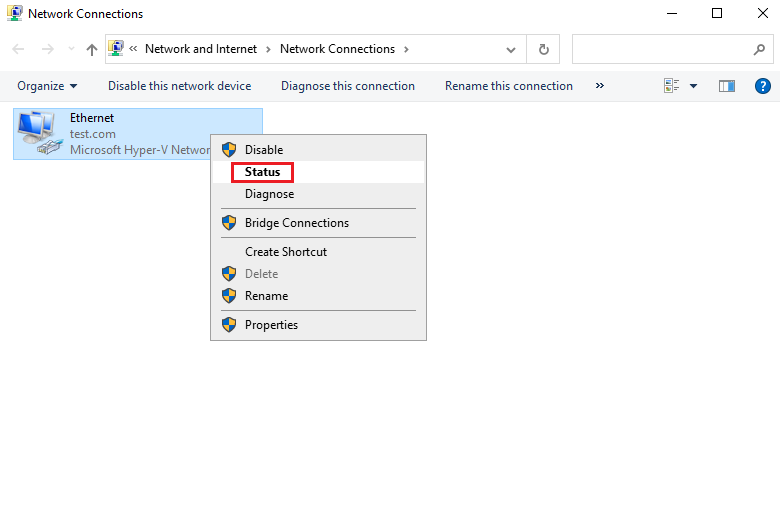
Verify the IP address and click Close.