DNS (Domain Name System) is a naming system for computers, services, or other resources. Domain Name System resolves host names to IP address and IP address to resolves host names. DNS zones are used to manage the DNS namespace better. The most commonly used zone types in Windows Server DNS are Forward Lookup Zones and Reverse Lookup Zones. Forward Lookup Zones resolves FQDN and other host names to IP address, and Reverse Lookup Zones resolves IP addresses to FQDN and other host names. Each zone contains DNS records.
Demo environment
- Computer Name: server1
- Operating System: Windows Server 2022 Datacenter
- IP Address: 192.168.3.3
Install Domain Name System
Steps for Install Domain Name System
- Open Add roles and features Wizard
- Select installation type
- Select destination server
- Select server roles
- Select Features
- DNS Server
- Confirm installation selections
1. Open Add roles and features Wizard
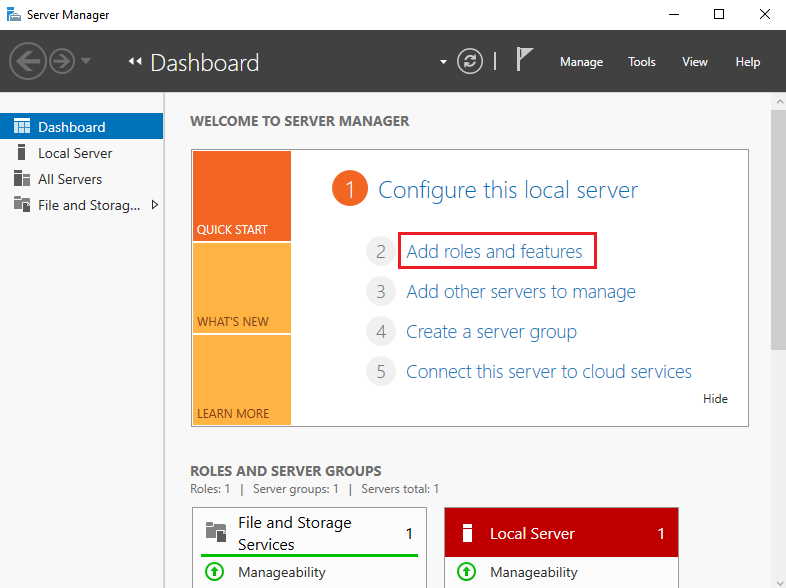
Open the Server Manager dashboard and click Add roles and features.
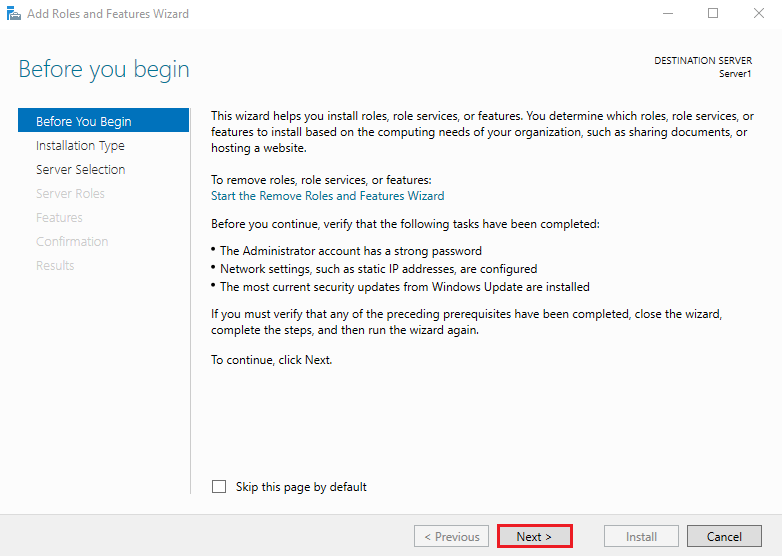
Before you begin, click Next.
2. Select installation type
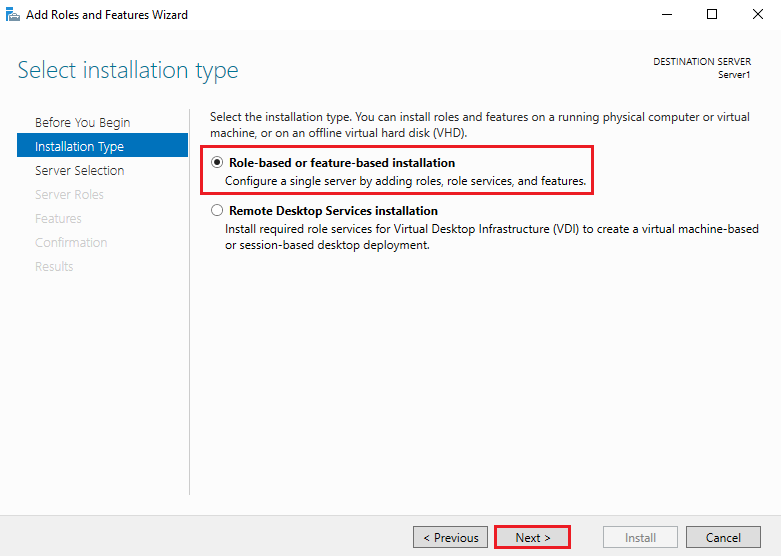
Select Role-based or feature-based installation and click Next.
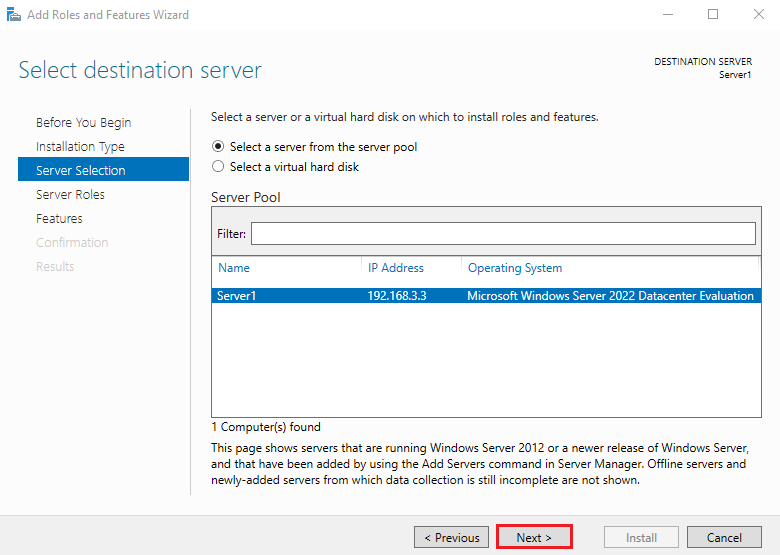
3. Select destination server
Select a Host to which you’d like to add services and click Next.
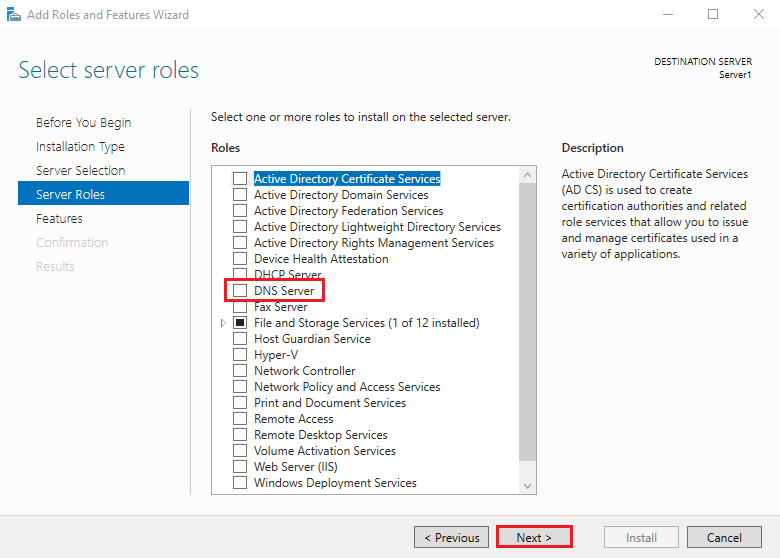
4. Select server roles
Choose the DNS Server box from the server roles page.
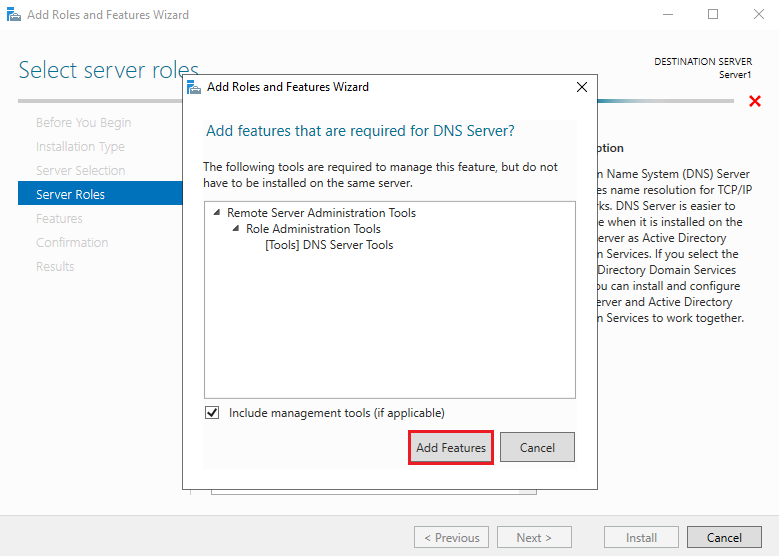
As soon as you choose Hyper-V a new window appears. Click Add Features.
Click Next to continue.

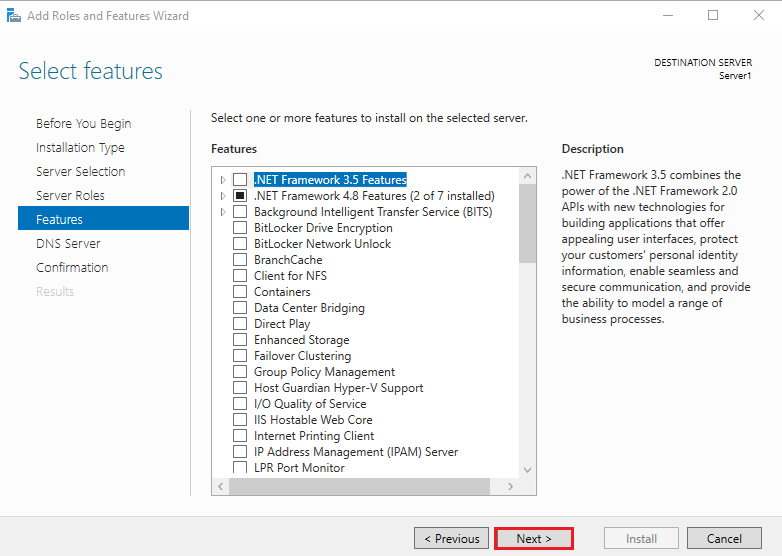
5. Select Features
On the select features console, just click Next because we do not require any extra features at the moment.
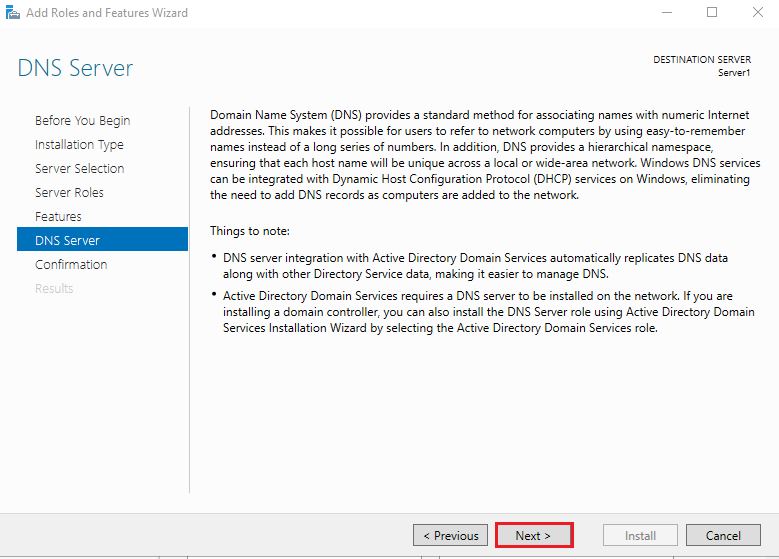
6. DNS Server
On the DNS Server console, you can read brief information about the DNS Server. Click Next to continue.
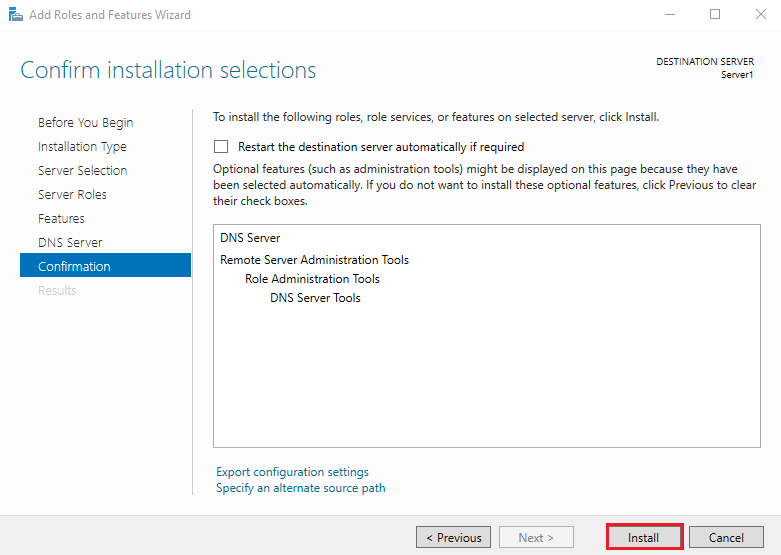
7. Confirm installation selections
Confirm installation selections and click on Install to start the installation process.
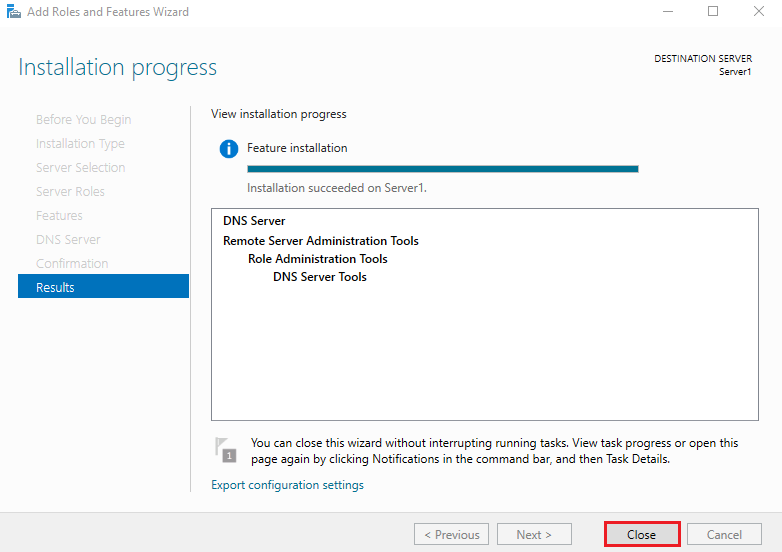
After finishing the installation, click Close and restart the Server.
