
Active Directory Domain Services (ADDS) Stores information about objects on the network and ADDS provides secure, structured, hierarchical data storage for objects and the admin can easy to manage all objects. Active Directory Domain Controller is a server that is running ADDS. Active Directory Domain Services (ADDS) uses domain controllers to give the network user access to permitted resources anywhere on the network through a single logon process.
Active Directory Domain Services (ADDS) is composed of both logical and physical components, ADDS logical components are structures that you use to implement an Active directory design that is appropriate for an organization
Table of Contents
- Install Active Directory Domain Services
- Configure Domain Controller
- Join in Active Directory Domain from Windows clients
Prerequisite Required
- Configure Static IP Address
- Configure Computer Name
Demo environment
- Computer Name: server1
- Operating System: Windows Server 2022 Datacenter
- IP Address: 192.168.0.3
Install Active Directory Domain Services
Steps for Install Active Directory Domain Services
- Open Add roles and features Wizard
- Select installation type
- Select destination server
- Select server roles
- Select features
- Confirm installation selections
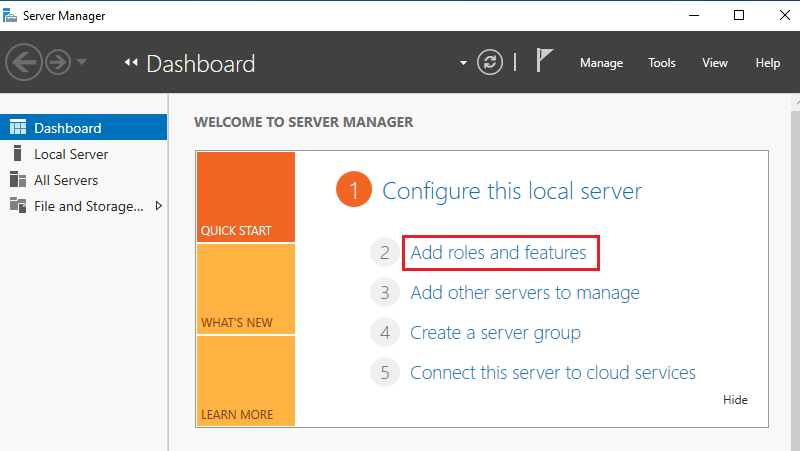
1. Open Add roles and features Wizard
Open the Server Manager dashboard and click Add roles and features.
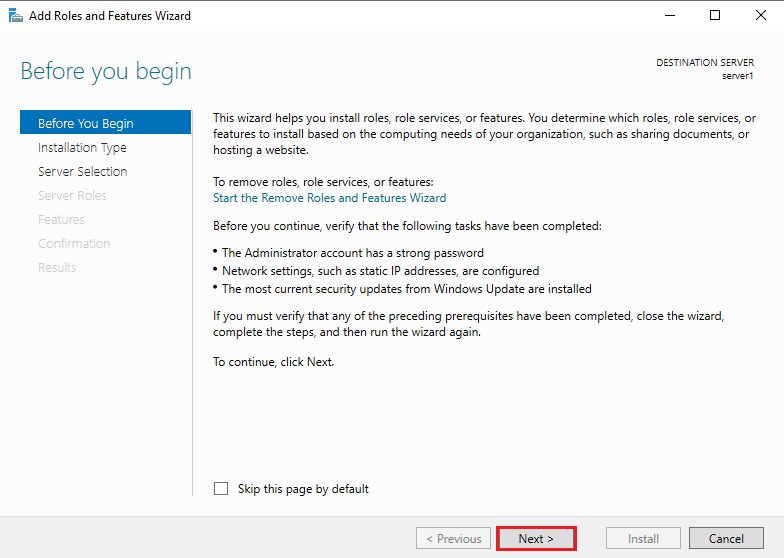
Before you begin, click Next.
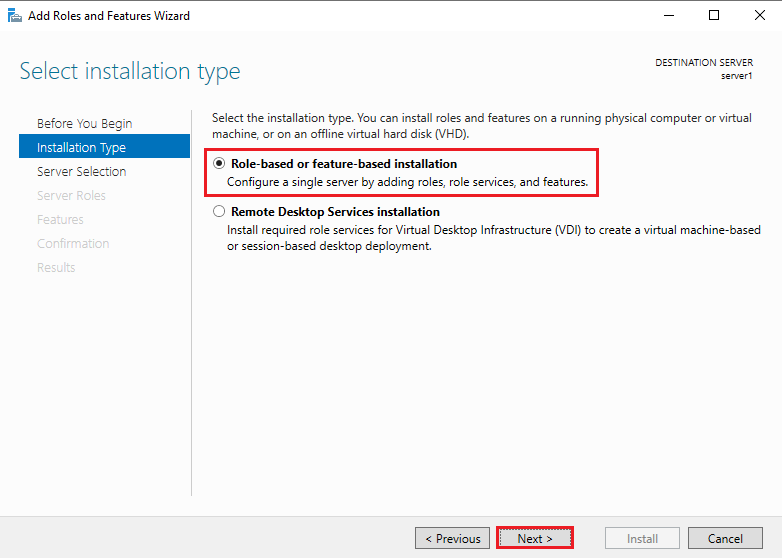
2. Select installation type
Select Role-based or feature-based installation and click Next.
3. Select destination server
Select a Host to which you’d like to add services and click Next.

4. Select server roles
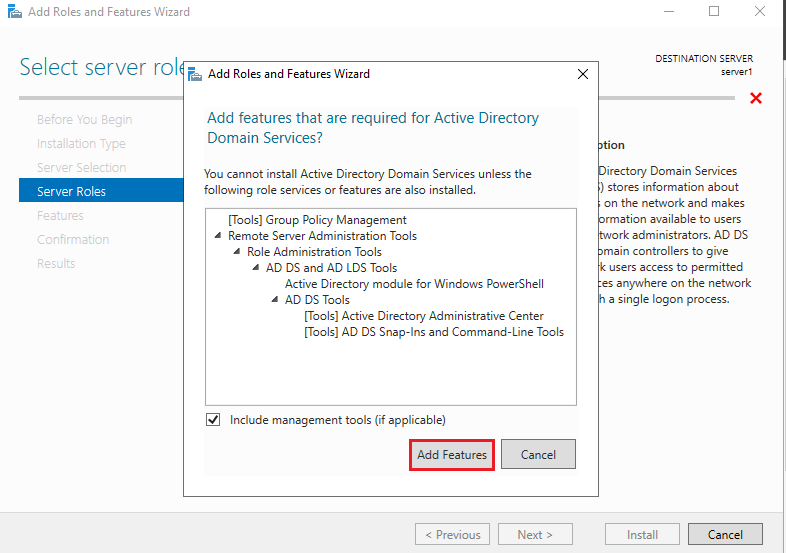
Choose the Active Directory Domain Services box from the server roles page.
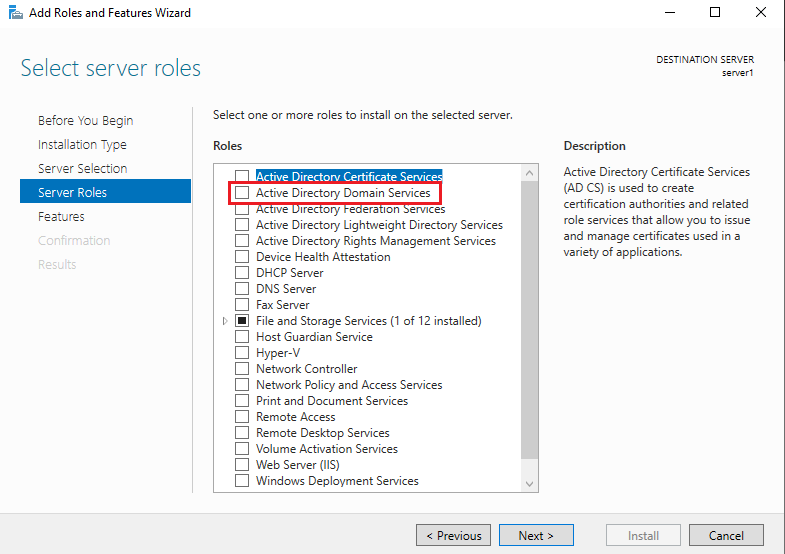
As soon as you choose Active Directory Domain Services a new window appears. Click Add Features.
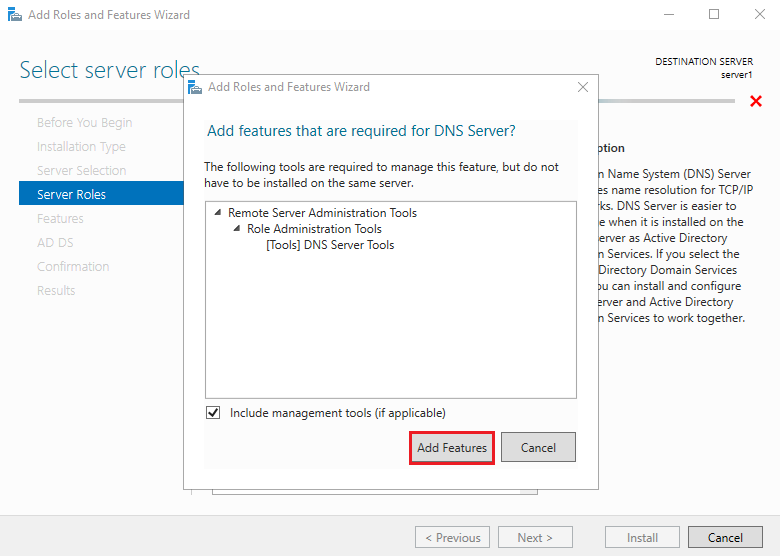
Choose the DNS Server box from the server roles page.

As soon as you choose DNS Server a new window appears. Click Add Features.
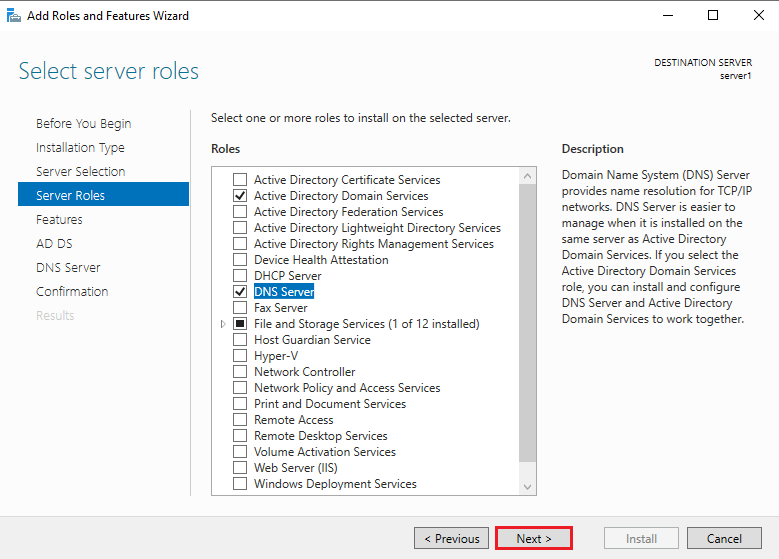
Please ensure the Active Directory Domain Services and DNS Server options are selected and click Next.
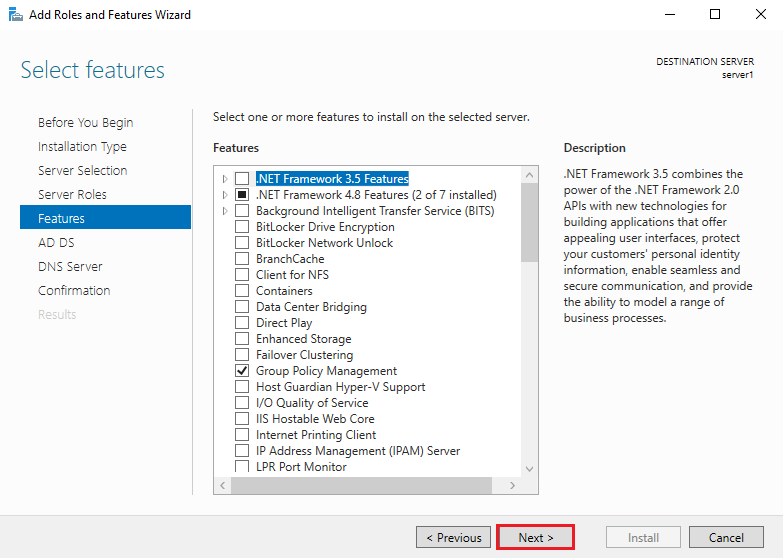
5. Select features
On the select features console, just click Next because we do not require any extra features at the moment.
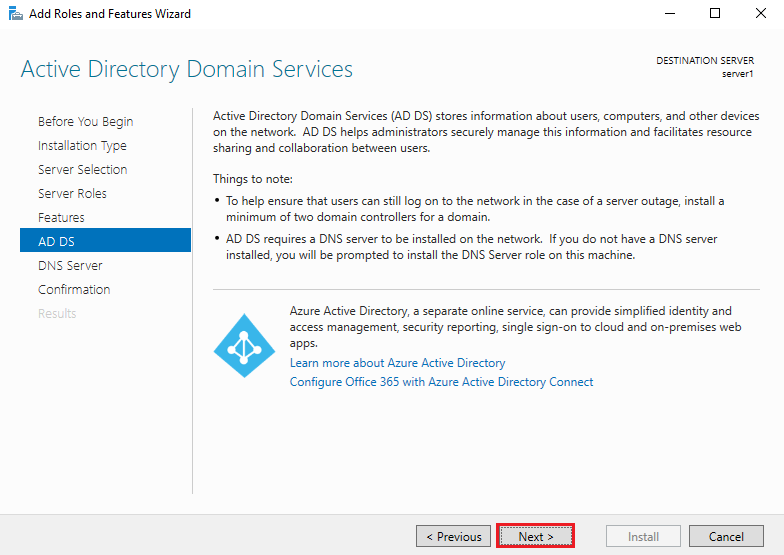
On the Active Directory Domain Services console, you can read brief information about the Active Directory Domain Services. Click Next to continue.
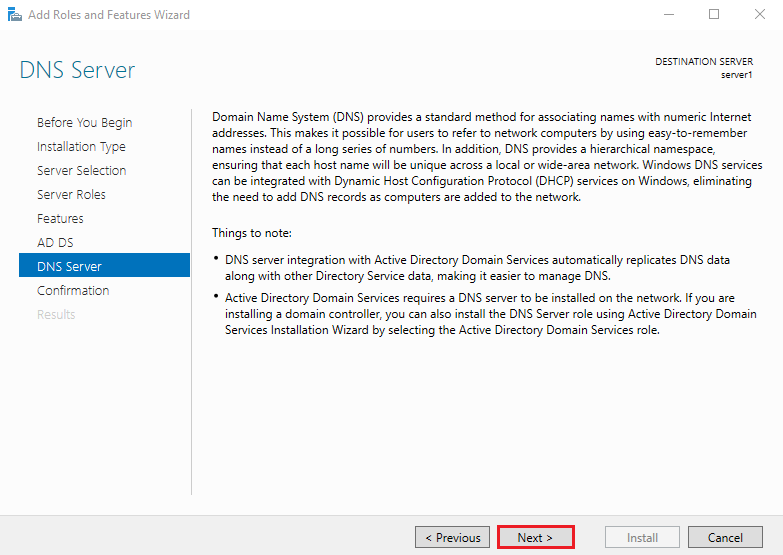
On the DNS Server console, you can read brief information about the DNS server. Click Next to continue.
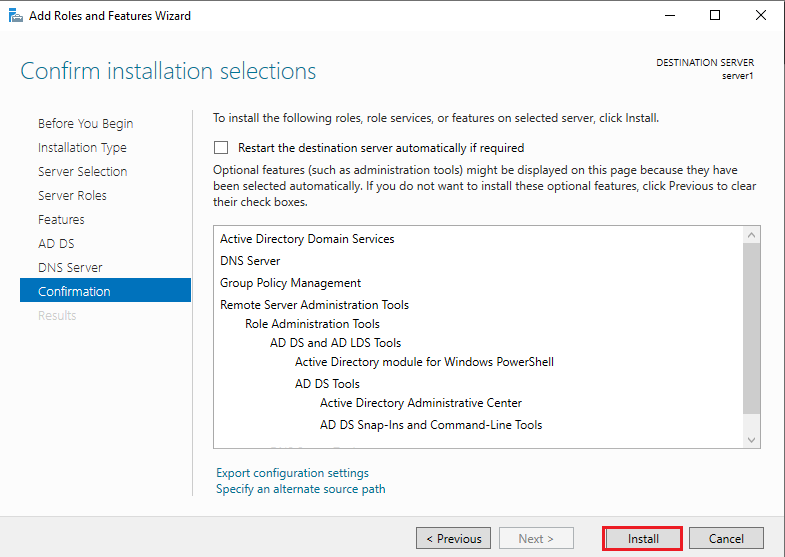
6. Confirm installation selections
Confirm installation selections and click on Install to start the installation process.
Configure Domain Controller
Steps for Configure Domain Controller
- Promote this server to a domain controller
- Deployment Configuration
- Domain Controller Options
- Additional Options
- Paths
- Review Options
- Prerequisites Check
1. Promote this server to a domain controller
Click Promote this server to a domain controller.

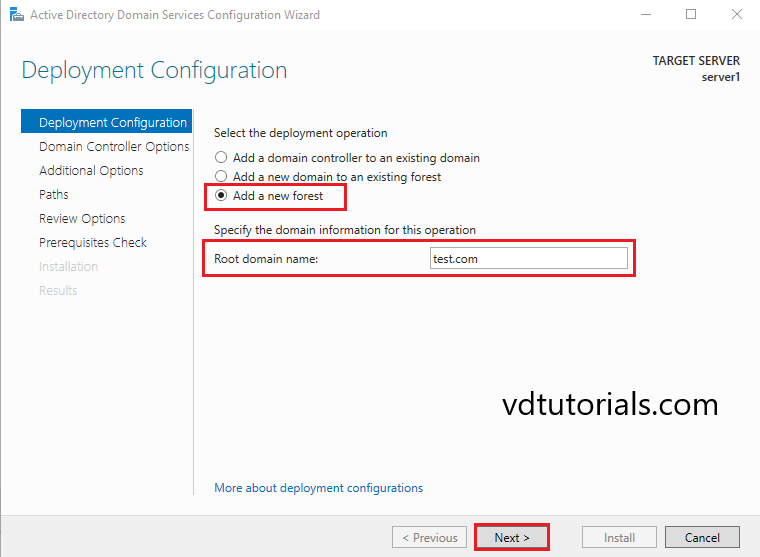
2. Deployment Configuration
Now we are going to install a new forest and new domain, in this tutorial Root domain name is test.com.
Select Add a new forest, Enter the Root domain name and click Next.
3. Domain Controller Options
Select the forest functional level, and domain functional level, and Specify domain controller capabilities as per your requirement.
Type Directory Services Restore Mode (DSRM) password and click Next.
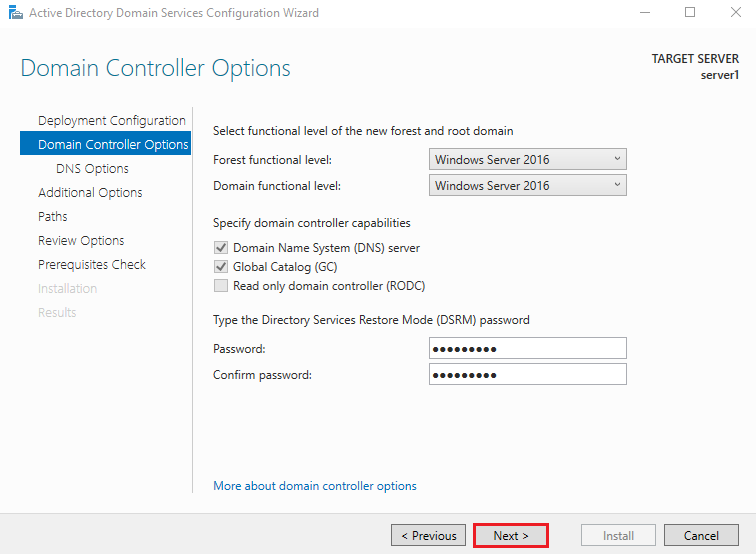
Click Next to continue.

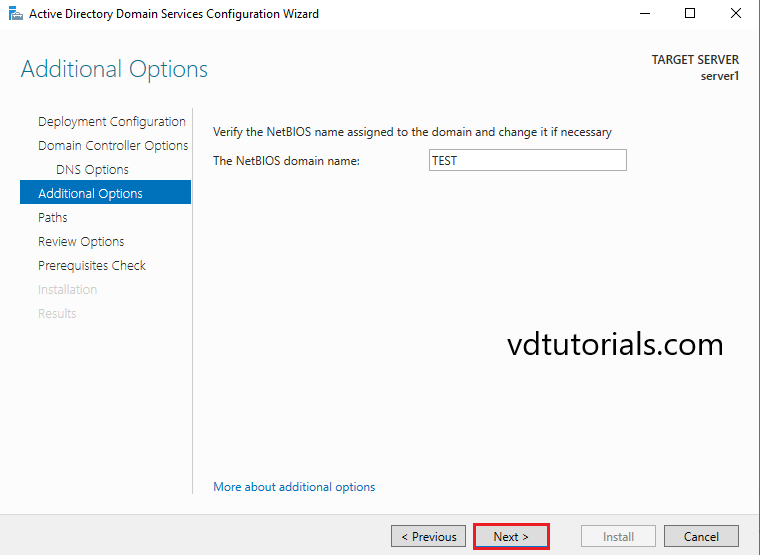
4. Additional Options
Click Next to continue.
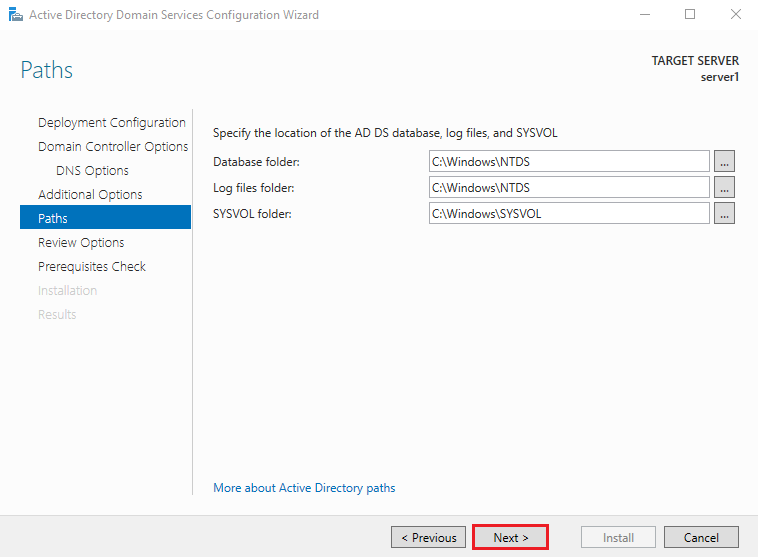
5. Paths
Specify the location of the AD DS database, Database folder, Log files folder, SYSVOL folder (Keep it as default location), and click Next.
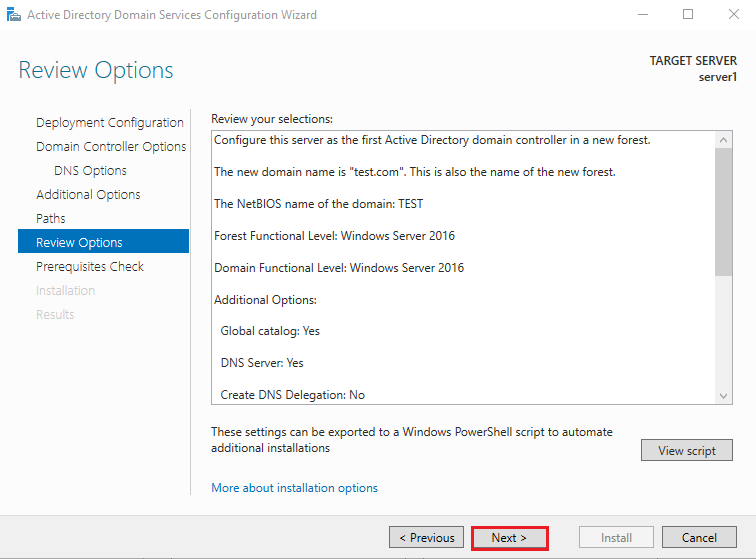
6. Review Options
Verify all the settings and click Next.
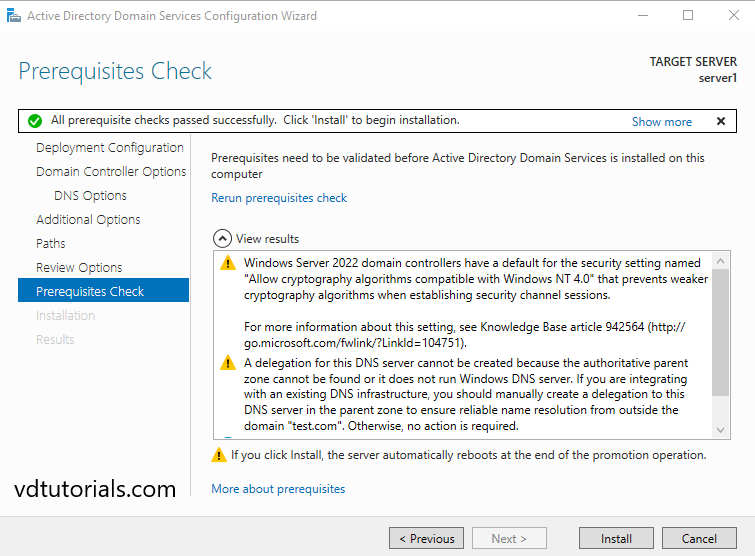
7. Prerequisites Check
Prerequisites need to be validated before ADDS is installed on this server. Click Install.
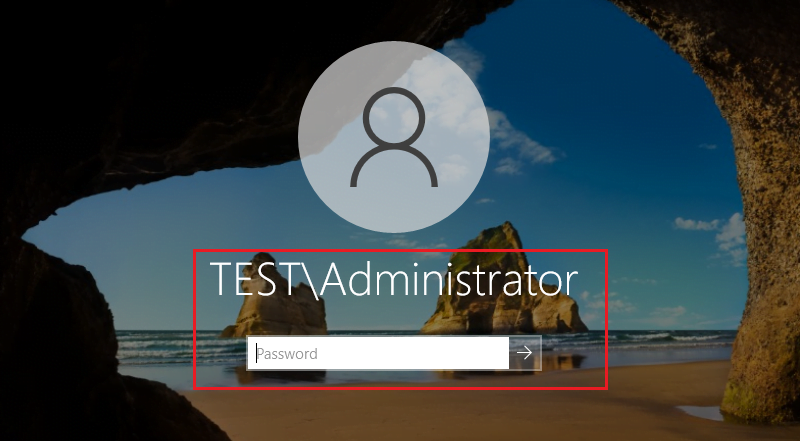
Enter Username and Password (After restarting the System, the login name is changed to “Domain name\User name”).
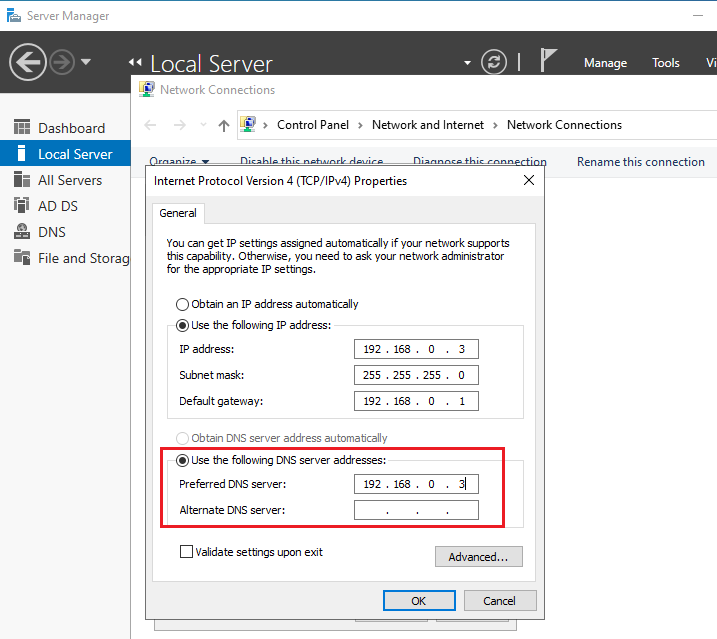
Open your network connection Internet Protocol Version 4(TCP/IPv4) Properties and change the preferred DNS server IP Addresses.
Join in Active Directory Domain from Windows clients
This example is based on Windows 11. Verify client and the server are on the same network and the client has at least one DNS server configured, that is able to resolve the AD DNS zone.
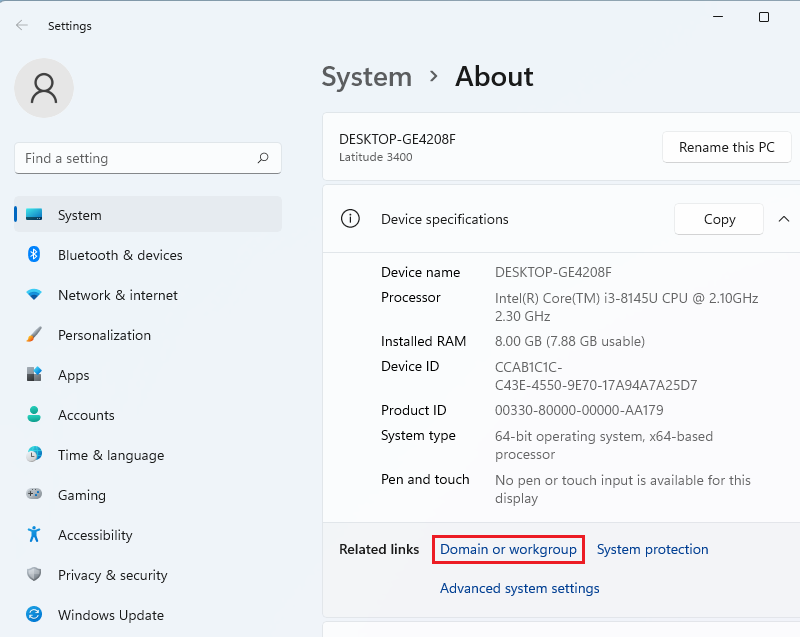
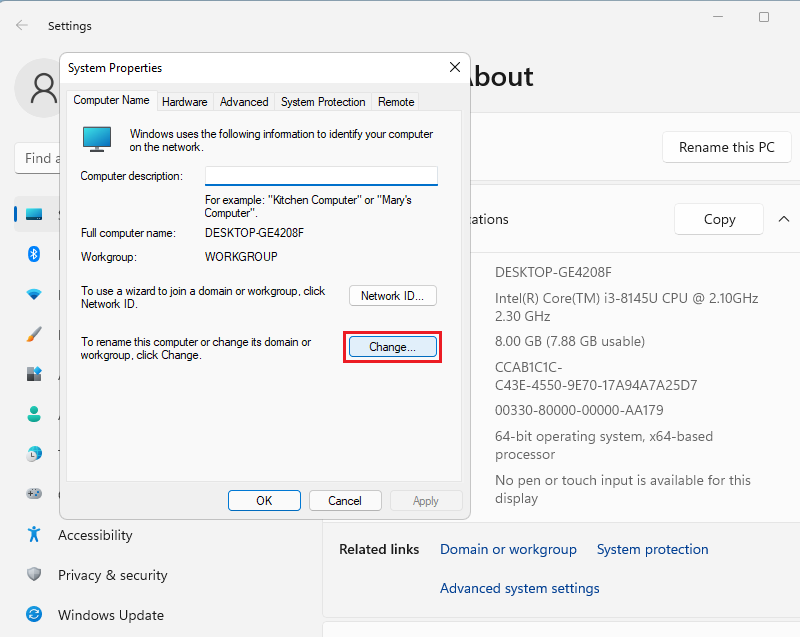
Right-click on This PC and click on Properties.

Click Domain or Workgroup
Click Change to change domain.
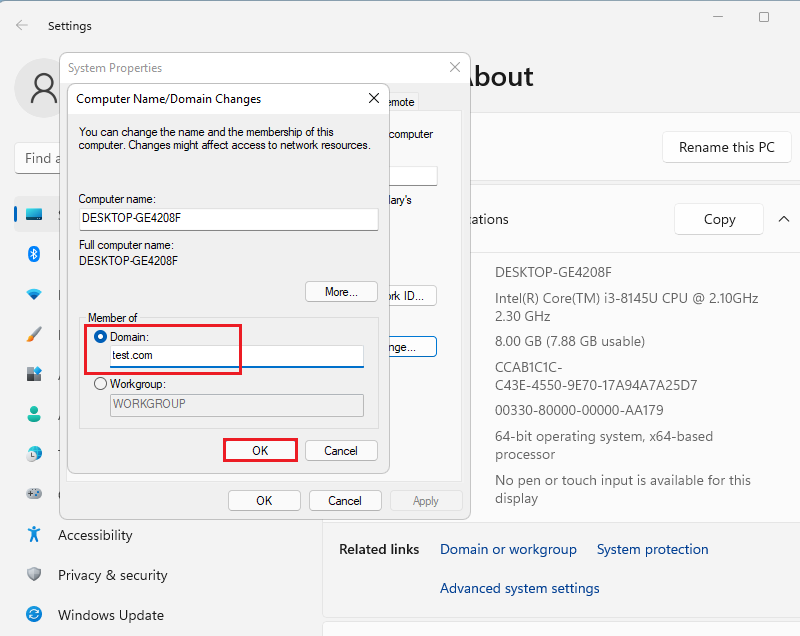
Select Domain, input domain name, and click OK. In this tutorial domain name is test.com
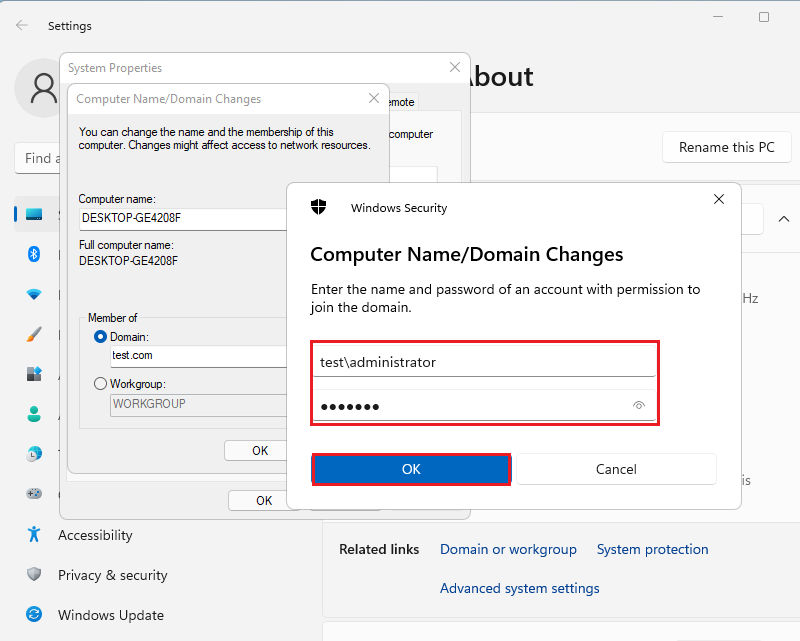
Authentication is required, authenticate with a domain User in Active Directory.
Click OK. It means that successfully joined the domain.
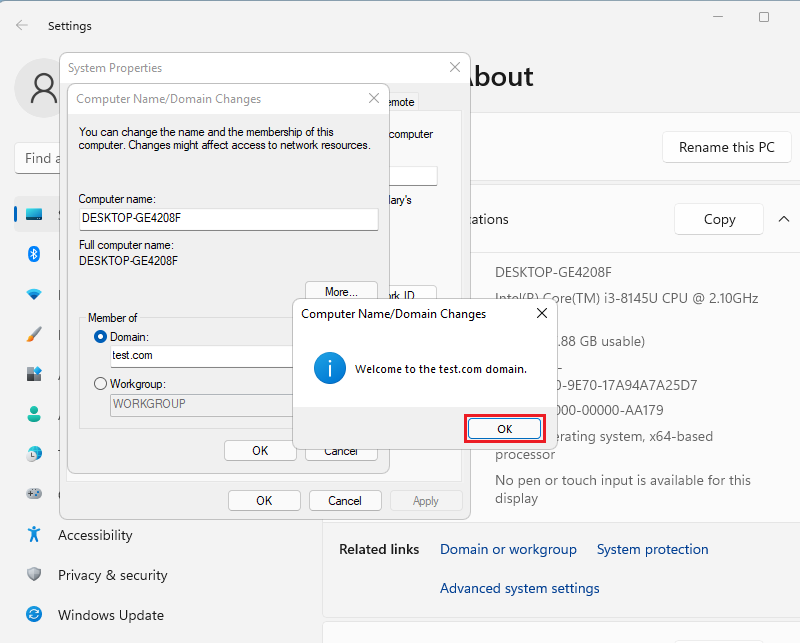
Click OK.
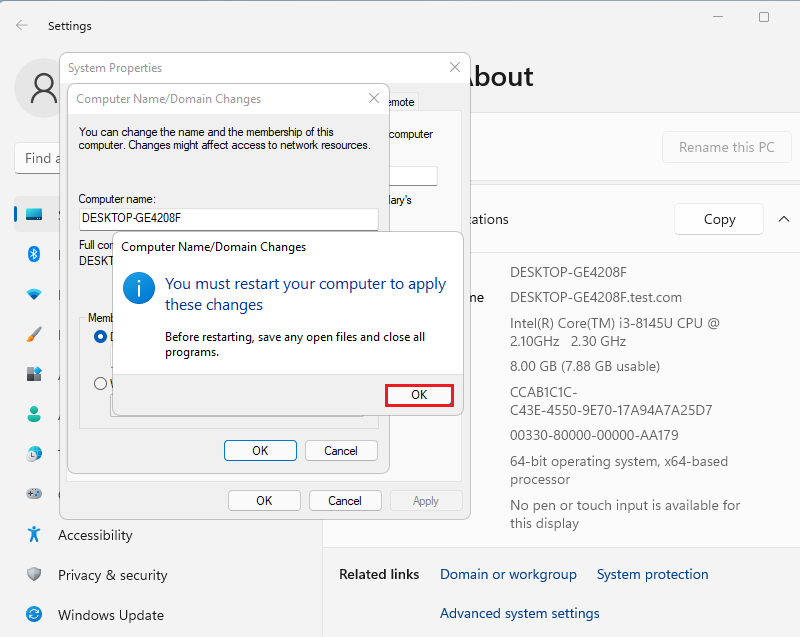
After restarting Computer, click Other user to switch Domain user to login.